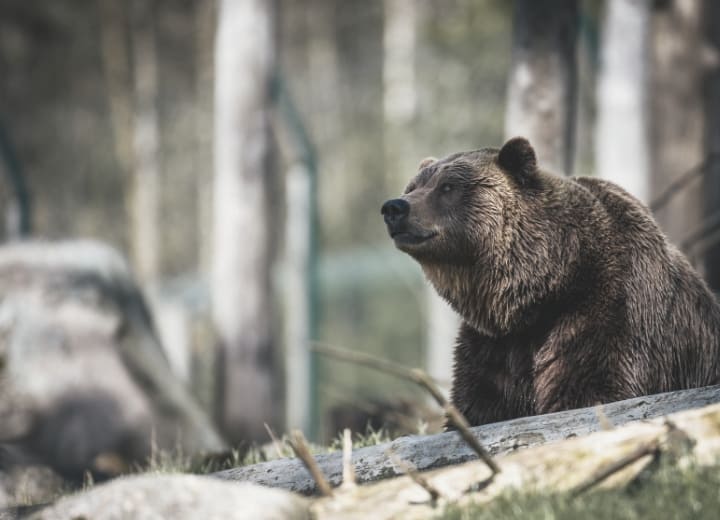
Bears are an increasingly common companion for hikers in the backcountry. According to a Ranger in Yosemite, there are now more than 30,000 black bears in California, which is a sharp increase over the past decade. Hiking safety in the daytime generally means backpackers have the responsibility to yield to Black Bears. Basically, that means to avoid them whenever possible. (Note: There are no brown bears, also called Grizzly bears, in California. The last one was reportedly shot by a Fresno rancher in 1922.)
Backpackers and Bears
Bears are attracted to smells, and there is nothing smellier than a group of backpackers and the food they carry. Philmont advises hikers not to use cologne, deodorant, or soap to keep curious bears away from campers. In fact, their bear avoidance procedures are rigorous and enforced to keep bears safe from Scouts – and vice versa. Smellables include food (all food, even the cookie crumbs at the bottom of your backpack), water bottles with sweet drinks, toiletries, garbage, and cleaning supplies. Purists also consider First Aid Kits and Duct Tape to be smellables.
Check out our other guides on health & survival:
- At some point you’ll have to practice some field medicine – taking a wilderness first aid course before you go is a good idea.
- How to survive in the wilderness if everything goes wrong?
- One of the 7 LNT principles, learn how to dig a cat hole correctly.
While bears are common, they are much more common in campgrounds where large numbers of people leave their trash around as bear snacks. They are less of a nuisance in the backcountry. Still, bears can keep you awake all night if they are attracted to your campsite. Usually, banging on a pot or yelling loudly will drive them away, at least for a while.
How to Protect Your Food (and Yourself)
There are three basic ways to protect food and smellables from bears. The first is Bear Canisters. They are required in many national parks, including Yosemite. Rangers check for the canisters and can write you a ticket if you don’t have one. The second is bear-bagging, or putting your smellables in stuff sacks and hanging them from tree branches. The last is storing the food in your tent overnight, a common practice among frat boys on their first backpacking trip. We won’t cover this one, because keeping smellables in your tent can lead to a very bad outcome. (Watch this video.)
Bear Canisters
The basic models weigh 2-3 lbs and can carry enough food for a week, give or take. They can be clear or opaque, but clear is usually preferred because you can see what is inside. They usually cost $60-$90 and last a long time. Many older backpackers hate them but are forced into compliance by the Rangers. There are pluses and minuses with bear canisters.


Minuses-They are expensive, difficult to fit into your backpack and hard to open (I usually leave mine unsealed during the day). If you are on a long trek with several people, its impossible to fit all your food inside. They also weigh a few pounds, which never goes away.
Pluses-They are much easier than bear-bagging and more reliable. Canisters can double as a stool or water container. And they can save you an expensive ticket in most national parks.
Check out our other guides on health & survival:
- You know the saying “when thunder roars go indoors“, but what if you are out in the wild?
- Poison oak identification is a handy skill to avoid some itchy skin.
- Camping mosquito repellent may be well advised in some areas.
- Preventing tick bites starts with some basic packing prep.
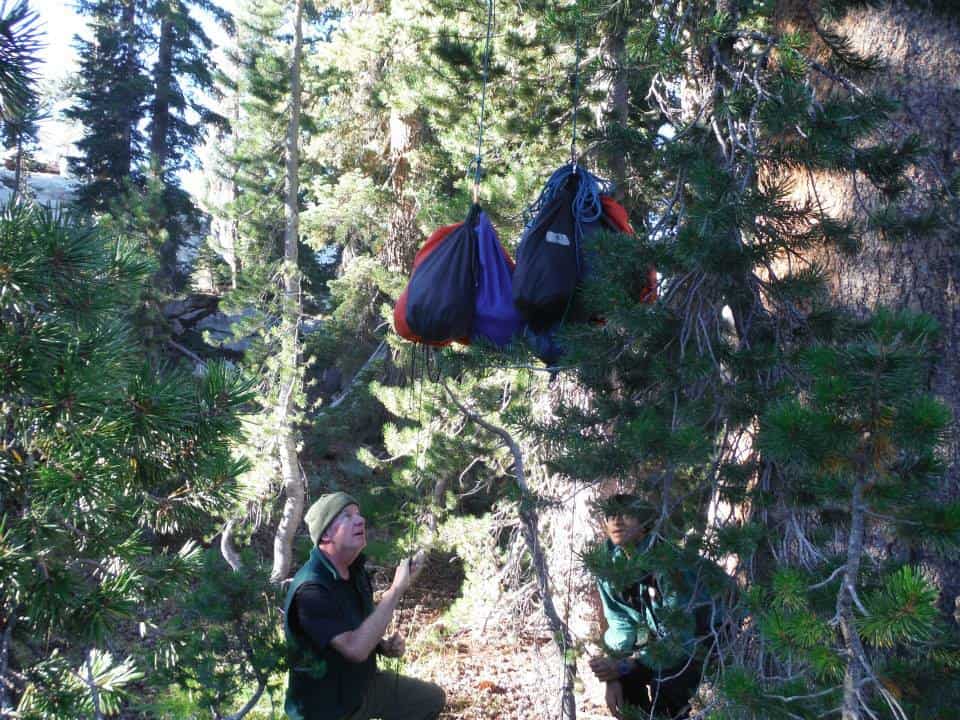
Hanging Bags From Trees
To protect your food from bears, raccoons, and other animals, many backpackers hang everything from a tree limb. However, bears are exceptionally smart, and some have reportedly learned how to access food even if properly hung from a tree.


While it is very difficult to learn how to throw bear bags by reading instructions, you can look at the following steps to get an idea of what is involved. Bear Bags should be at least 10′ above the ground and far enough away from the tree trunk so a bear cannot climb the trunk, reach out and shred the rope or the bag.
There are different methods to achieve this goal, but the two methods described below have proven to be effective for most backpackers.
Counter Balance Method
For very heavy loads the counterbalance method works best. You need at least two food bags, rope (about 1/4″ diameter by 50′), two carabiners, two lightweight cords (about 40′), plus about 2′ of parachute cord tied in a loop. A throw bag, that doubles as a stow bag for the gear, is also helpful. (And you have to know how to tie a Prusik’s knot quickly)
- Put a rock in the throw bag and tie the rope to the bag, then throw it over a branch that is 15′ to 20′ high. (This sounds easier than it is.) Make sure the rope will easily slide back and forth over the branch, then remove the throw bag.
- Tie a loop (e.g., bowline) into the other end of the rope & clip a carabiner through it.
- Separate the food bags into two approximately equal groups. Attach one group of bags to the carabiner.
- Slip the middle of the lightweight cord onto the carabiner with the food bags, so that it slides easily through the carabiner.
- Pull the other end of the rope until the food bags, with the dangling cord, are at the height of the branch.
- Using the short loop of parachute cord, tie a Prusik knot to the rope, and slide it upward as high as possible.
- Attach the second group of food bags to the other carabiner, and clip this carabineer to the Prusik knot.
- Slip the middle of the second lightweight cord through the carabiner with the second group of food bags.
- Coil up the remaining rope and drape it through loops on the second group of food bags.
- Put the two ends of the dangling lightweight cord on the first group of food bags together and pull. Hoist up the second group of food bags until they are even with the first group. This will probably require someone else pushing the second group of food bags upward.
- Separate the two ends of both lightweight cords on both sides and drape them over a bush or branch.
To retrieve the food; bring the ends of one of the lightweight cords together and pull down the first group of bags and take the bags off the carabineer. Slowly release the cord to allow the second group of bags to fall back down to the ground. The second lightweight cord provides a method of pulling the second bag down if its own weight is insufficient to bring it down.
PCT Method
Named after Pacific Crest Trail hikers, the PCT method works well for light loads – like when you have to do something when a Scouts finds that he forgot to put his candy in the Troop bear bag. Required equipment includes; food bag, rope (about 1/8″ diameter by 50′), lightweight cord (about 40′), carabineer, and a pencil-sized short stick. A small throw bag (where you can put rocks) is also helpful, instead of attempting to tie your rope around a rock.
This system leaves the extra rope hanging freely below the food bag. To retrieve the food; pull the end of the rope down and untie the stick, then slowly release the rope to allow the food bag to fall back down to the ground. The lightweight cord provides a method of pulling the bag down if its own weight is insufficient to bring it down.
As the bear population grows, it is inevitable that they will come into more and more contact with Scouts. In fact, there is anecdotal evidence that bears are becoming more assertive and less afraid of hikers. In the unlikely event that a bear charges you, stand tall, make noise, and pray. Otherwise, don’t let negative thoughts fuel your fear of bears i.e. don’t worry about it.
For more information about surviving a bear attack, click here.
If you are planning to head out into the wild, don’t forget to stock up on tools:
- For all those little repair jobs consider our top pick for best survival multi-tool
- Check out our top recommendations for the best backpacking saw
- The best backpacking axe on the market is a unsurprisingly made by a well-known brand
- To stay clean on the trail, packing quick dry camping towels is a good idea.
Last update on 2024-04-25 / Affiliate links / Images from Amazon Product Advertising API