Water.
It’s the source of all life.
It makes up around 60% of the average adult human body, and without it, our life expectancy dwindles to a meager three or four days.
In short, staying hydrated is crucial to human survival.
This is never truer than when we’re out adventuring in the backcountry, where the fluids lost through exertion and sweat are in constant need of replacing – at a rate, most sources claim, of around one liter every two hours.
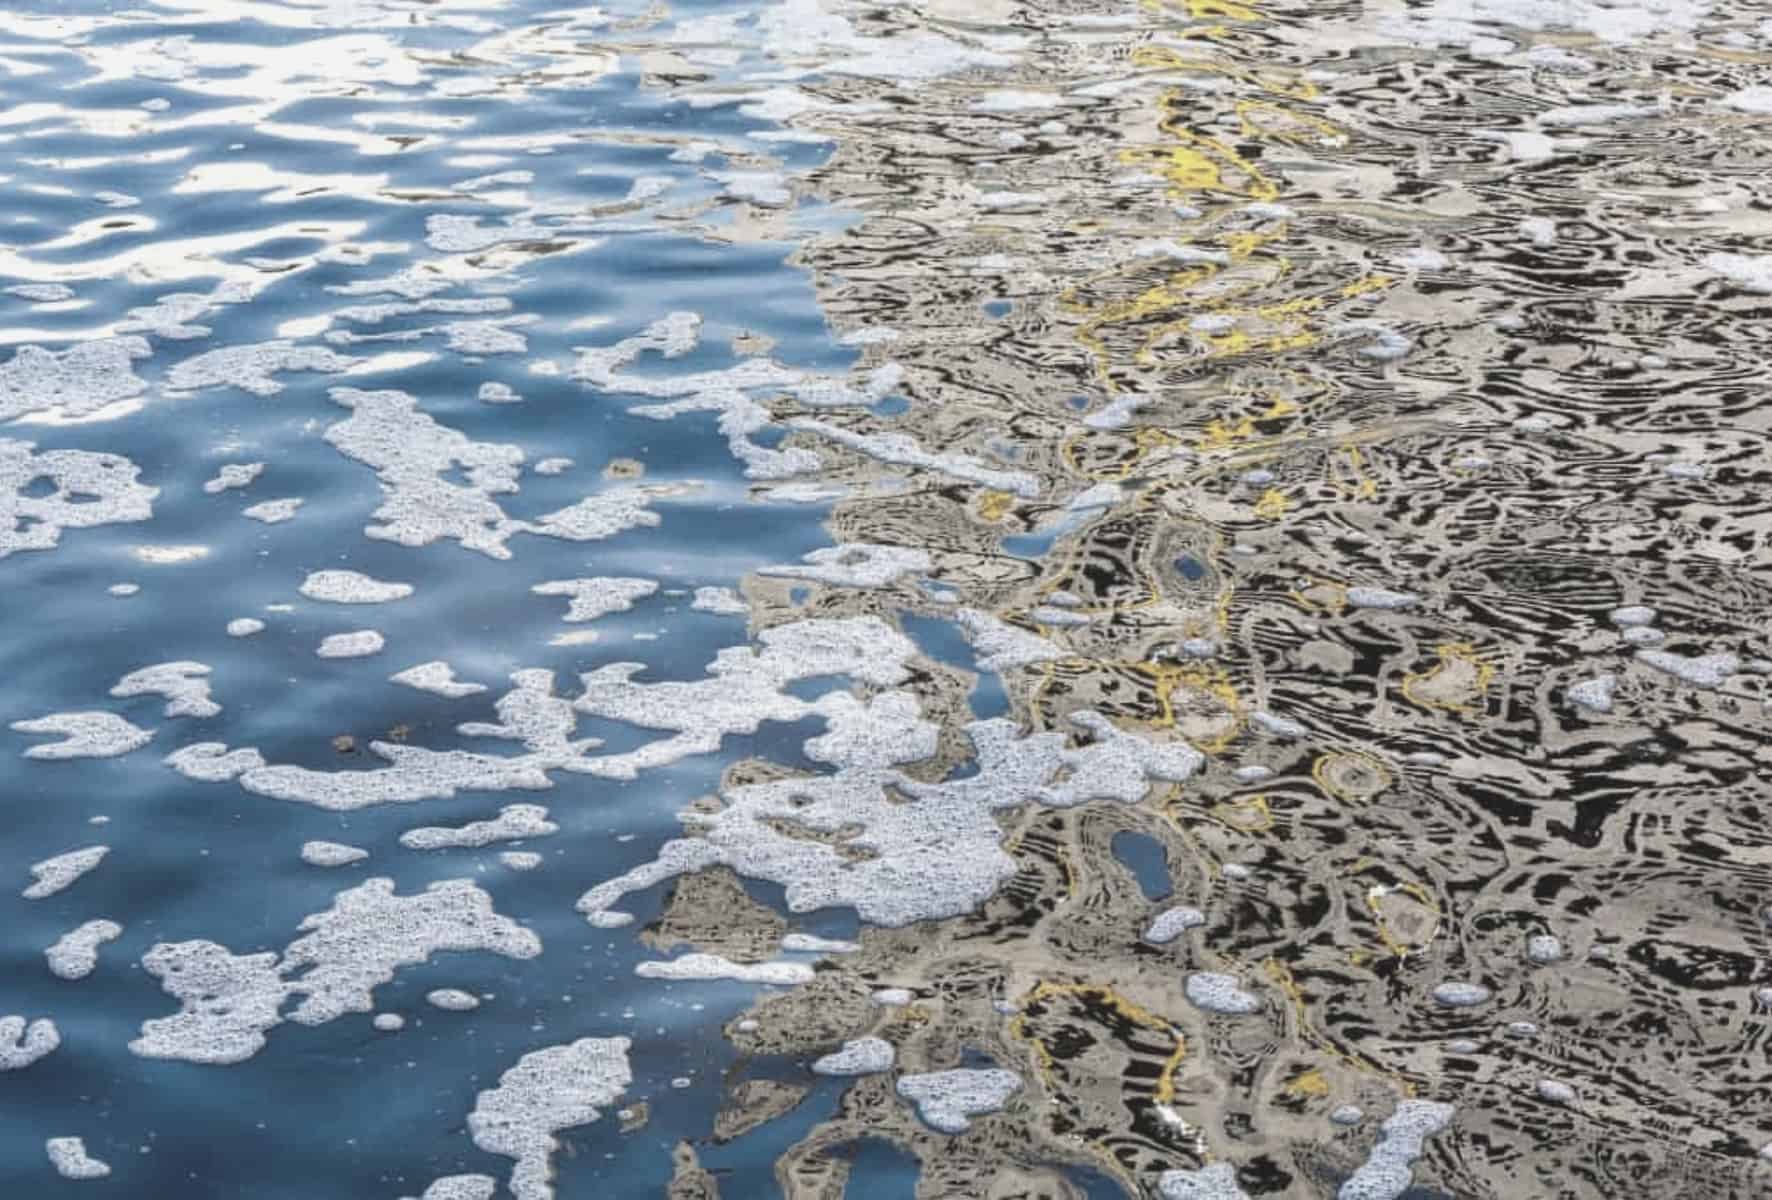
But getting our fill of safe, clean drinking water in remote backcountry locations is never as easy as many novices to outdoor travel are apt to think. In every stream, lake, river, creek, and waterfall we might come across there lurk plenty of protozoa, bacteria, and viruses that have the potential to hit any hiker or backpacker with an ailment (or two) far worse than thirst.
Check out our other guides on food & water:
- If you’re not sure how to fuel yourself, check out our guide to hiking food.
- Which brand claims the crown for best camping mess kit?
- We take a look at some of the best freeze dried backpacking meals
- Want the skinny on the best camping frying pan?
In this article, we take a look at the four main types of water purification methods and include a selection of must-know tips to ensure your drinking water doesn’t come with a side dose of something nasty.
Before that, let’s take a quick look at the most important do’s and don’ts concerning water purification.

- Treat all water taken from wild sources
- Take a backup method of purification
- Identify reliable water sources before setting off
- Be meticulous when using your purification method
- Clean hoses and nozzles in filter systems with purified water
- Research parasites and viruses common to your area of travel

- Drink directly from any water source, no matter how unspoiled the area
- Rely on seasonal water sources
- Take water from a stagnant source
Water-borne Viruses and Diseases
A far wiser man than me once said: “know thy enemy.” This is a good starting point for the following, a list of the most common ailments we might fall foul of as a result of drinking from wild water sources without first purifying the water carefully.
Knowing our enemy not only lets us know what we’re dealing with but should also do the necessary amount of scaremongering required to jolt any doubters into action!
- Giardia and Cryptosporidium – Protozoa widespread in rural areas of the US. Contained in human and animal fecal waste that can cause extreme gastrointestinal illness (vomiting, diarrhea, cramps)
- Dysentery/Amoebic Dysentery – Caused by protozoan parasites again passed by human or animal fecal matter, the symptoms of this water-borne illness include fever, chills, bloody or mucous diarrhea, and abdominal discomfort
- Bacteria – Some of the bacterial illnesses that may be contracted from wild water sources include shigella, E.Coli, salmonella, campylobacter
- Viruses – Some of the viruses that may contaminate wild water sources include hepatitis A, rotavirus, norovirus, enterovirus, all of which can be life-threatening if not treated. It’s well worth noting that filtration devices do not effectively eliminate viruses.
A Few Words on Misconceptions About Water-Borne Illnesses
There are many self-proclaimed “experts” who say that high-elevation water is usually clean and that treating it is not required. It is true that the risk of contamination varies from place to place, even within the same water source, but, given that any water on the planet could be contaminated with microscopic pathogens capable of ruining your trip and that purification is such a simple process, why take the risk?
Just so there’s no ambiguity on the matter, it’s well worth reiterating this article’s bottom line: any and all water taken from a wild source should be purified before drinking.
Another misconception is that water is the only problem. The truth of the matter is that most intestinal infections on backpacking trips are caused by person-to person-contact. The take-home here is that good hygiene habits are of the essence.
When out on a hiking or backpacking trip, disinfect your hands with an anti-bacterial lotion after all latrine breaks, before eating, and before meal preparation. To guard against infection, do not pass around bags of food for people to help themselves with “dirty hands.” Instead, pour the chips, candy, jerky, etc. into each hand (or cup) to avoid contamination. Again, being meticulous is the key to avoiding spending more time on the crapper (or, worse, in the hospital) than out enjoying your surroundings.
Choosing Your Water Source
Choosing your water source is the first step in water treatment. Below, I’ve added a few tips to help you choose your source wisely:
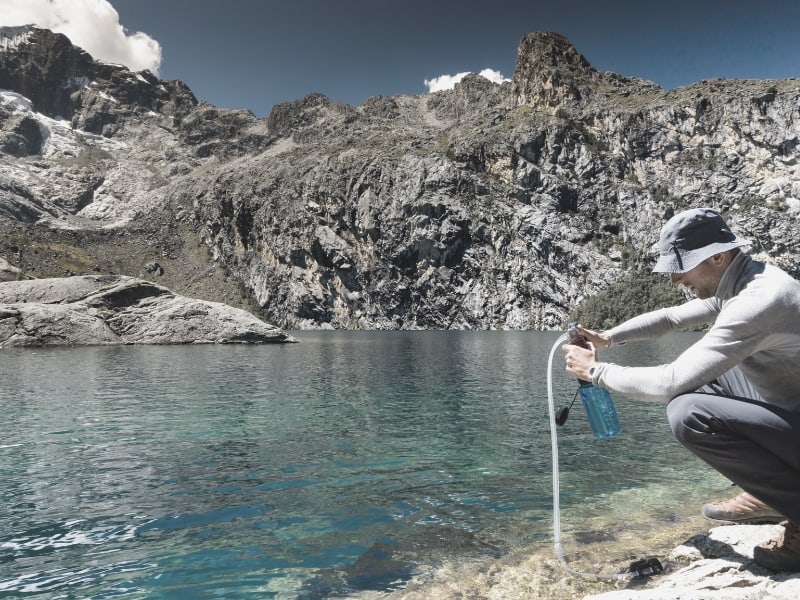
- Sunlight tends to disinfect water. Therefore, the water with the least amount of pathogens is found in lakes, near the surface
- Try to choose a water source with minimal sand, dirt, and/or debris
- Try not to use water downhill of grazing areas, developed properties, or campsites
- Take water from streams or rivers as opposed to pools or ponds as bacteria tend to proliferate in stagnant water
- Do a quick recon of the area around the water source to ensure there are no animal carcasses that may be infecting the water
Purification Methods
Backpacking groups and hikers have four basic types of portable water purification systems to choose from: boiling, chemicals, ultraviolet light, or filtering. Each has its defenders and detractors, its pros and cons. It’s common to have to use multiple methods on the same outing, so be prepared.
Boiling
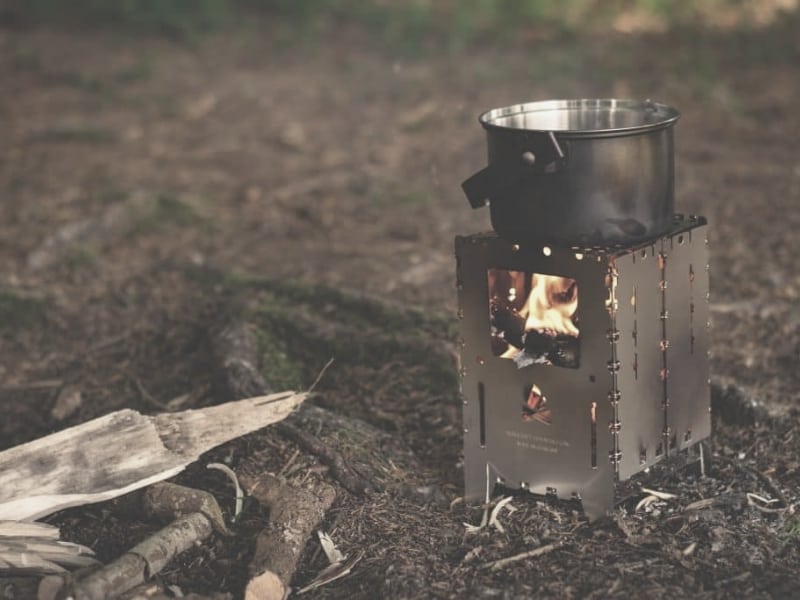
None of the common pathogens can withstand temperatures above 170 degrees Fahrenheit. Bringing water to a boil is an effective way to sanitize it for drinking since even at high elevations water will not boil until it is hotter than 200 degrees. Most authorities recommend maintaining a boil for 2 to 5 minutes.
While this may not be a convenient method for large amounts of water, or while traveling on the trail, it is a good back-up procedure and, of course, ideal for cooking. It will also require some form of heat source, such as a canister stove.
Pros
- Doesn’t require expensive equipment
- Always available
- Effectively eliminates viruses and parasites
- Inexpensive
Cons
- Takes a long time
- Requires use of fuel
- End up with very hot water (good for cooking, not for drinking)
Chemical Treatment
Chemical purification treatments are a lightweight, easy-to-use, and effective method of treating water taken from wild sources. These backpacking water purifiers may take up to 30 to 45 minutes to disinfect the water (perhaps longer in very cold water) and do not remove any sediment, but represent a very practical alternative to bulky, expensive hiking water filters and ideal as a backup purification method.
PRO-TIP: Carry around collapsible water containers in your pack, so you can stock up your water supplies when needed, without excessively weighting yourself down with several water bottles.
Iodine Tablets
Iodine tablets are a longstanding and common chemical treatment among outdoors-goers (Polar Pure or Potable Aqua are two respected brands). However, they are not effective against
Chlorine Dioxide
Treatment with chlorine dioxide in liquid form such as Aquamira or Klearwater is more effective than iodine and adds less of a taste to the water. Aquamira comes in two separate bottles that have to be premixed and has a shelf life of about four years. Klearwater comes in a single bottle and is easier to use, but has a much shorter shelf life of only a few months.
Another chemical method, the MSR Miox, is a proprietary treatment that uses a small electric current to create a chemical reaction called electrolysis to disinfect the water.
Pros
- Lightweight and easy to pack
- Easy to use
- Inexpensive
- Good backup method for your main filter
Cons
- Water usually tastes bad (you can add a neutralizer to improve the taste)
- Not appealing to use with muddy water because silt not filtered out
- Drink mixes can diminish the effectiveness
- Have to wait until chemicals work before drinking (often 30+ minutes)
- Not always effective against cryptosporidium (iodine in particular)
- Iodine products can pose a health risk to pregnant women and people with a thyroid condition
Ultraviolet Light
Many backpackers (and world travelers) use ultraviolet light to purify their drinking water. Like chemical treatments, this does not remove sediment from the water but is effective in eliminating all kinds of pathogens and viruses.
Ultraviolet light, in short, works by killing everything in the water, usually in less than a minute. Despite their light weight and effectiveness, however, ultraviolet purifying pens divide opinion, with some backpackers swearing by them and others avoiding them altogether, citing the hassle of carrying extra batteries and the more obvious drawback posed by their potential – as a mechanical tool – to malfunction or simply break.
One of the most popular brands producing ultraviolet purifiers is Steripen, which offers several models with different weights, battery requirements, and purification potential with regard to water volume.
Pros
- Lightweight
- Fast
- Easy to use
- Effective at eliminating protozoa and viruses
Cons
- Mechanical and might break
- Requires pre-filtering to reduce turbidity (cloudiness) of water
- Relatively expensive
- Requires batteries
- Not effective with muddy water
Backpacking Water Filters
Water filtration systems provide, generally speaking, an effective means of purifying larger quantities of water in a shorter period than chemical treatments or ultraviolet pens. While most filters do not remove viruses, they remain a very practical and effective means of purification for those who do their hiking and camping in North America, where viruses are very rare.
Three main types of camping water purifier exist pump filters, gravity filters, and straw filters.
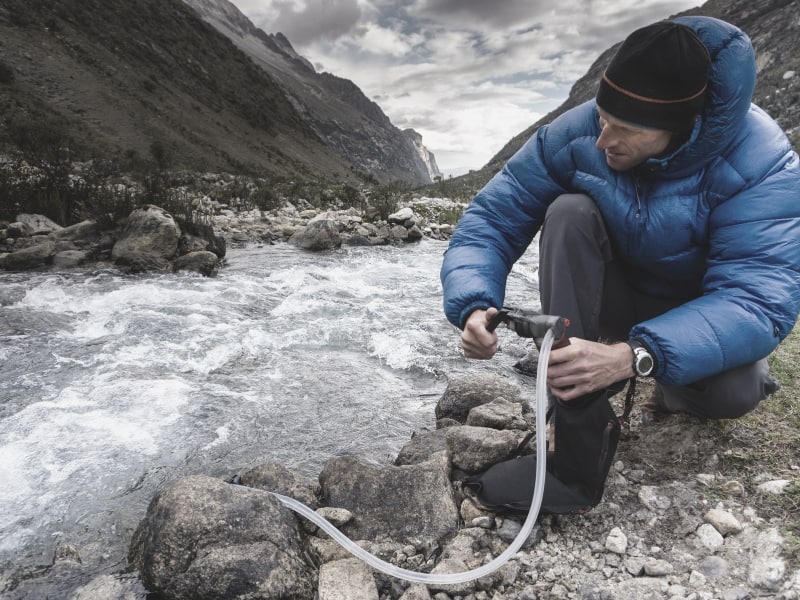
Filtering – Pump Method
There are many different types of camping water filters that treat water by passing it through a very fine filter by way of a pump. The pumps in such systems typically last two-three seasons, but the actual screens that go into the pumps usually have to be replaced every year. (Replacement filters can cost as much as the pump itself.)
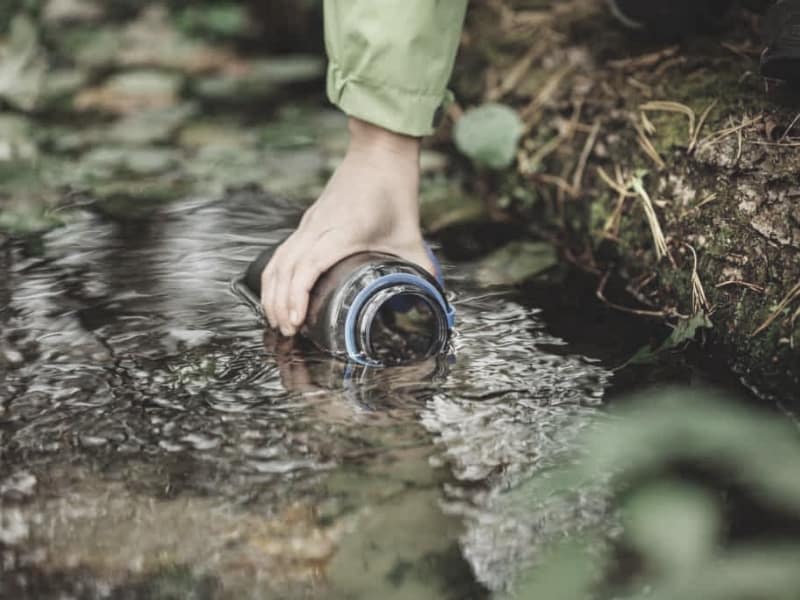
To use a water filter pump, you have to find a suitable and comfortable spot, drop an intake hose into the water and place an outflow tube into a bottle and then pump (and pump and pump and pump)until you have the desired quantity of water.
The main benefit to this system is that filters will also sift out sediments and convert cloudy water to clear water. Also, since filters work by mechanical means, they can disinfect water without any wait-time, making them a more convenient option than some ultraviolet pens and all chemical treatments.
They do, however, also have a few drawbacks. Firstly, filters can become clogged or break and, as such, anyone choosing a filter should always bring along a Plan-B back-up system for water purification. For the most part, filter pumps are also a lot heavier and bulkier than other treatment methods, making them less suitable for those short on pack space or who prefer to stick to the bare bones kit-wise.
The main downsides to this system, however, are the ease with which contaminated water can be mixed in with the filtered and clean water and their tendency to become clogged with sediment.
The intake hose of any pump must always be considered “contaminated” owing to the fact that it comes into direct contact with the water source when used. The tube going into the water bottle, on the other hand, is considered clean and must, therefore, be handled carefully.
PRO TIP: When treating water with a lot of sediment you can pre-treat the water by allowing it to settle and then straining it through a sieve such as a coffee filter, bandana, or t-shirt.
If the hose accidentally touches the tube (very possible, I assure you, when you are perched on a log fighting for balance while trying to unscrew the top of your water bottle with hordes of mosquitoes trying to feast on your flesh), then both tubes are then contaminated. To be extra careful, you then need to boil the tube or soak it in clean water with a few drops of bleach (or iodine) to sterilize it again. The same is true, I should add, for any water bottles that happen to fall into the water source.
Pros
- Removes sediment from the water
- Provides clean water immediately
Cons
- Relatively expensive
- Filters can clog or break
- Hard work to filter water for a large group
- Easy to contaminate the hoses
- Bulky and heavy (11 ounces dry)
Filtering – Gravity Method
Gravity filters are destined to become a very popular means of purifying water, particularly with large backpacking groups. Generally speaking, they work as follows: we fill a bag from any water source (two gallons or more), hang the bag in a tree, open a spigot and let water flow through the filter and into our water bottle (or cooking pot) at the rate of a half liter per minute.
Compared to other methods, the gravity method is simple and by far the most convenient for processing large quantities of water. However, as with pump systems, gravity filters do tend to clog up quickly if used to treat cloudy water and also take up a lot of pack space and weigh a lot more than ultraviolet pens or chemical treatments, even especially lightweight and packable models like the Katadyn Base Camp System.
Pros
- Ideal for processing and purifying large quantities of water
- Easy to use
- No pumping required
- Not as easily packable as other purification methods
Cons
- Quite heavy
- Relatively expensive
- Doesn’t remove viruses
Straw Filters
Straw filters have become all the rage in recent years, and with good reason. They’re light, affordable, packable, and effective in processing smaller quantities of water.
Straw filters allow you to drink directly from the water source and, as such, are a good choice for anyone who doesn’t want to carry water in their pack in is sure there will be plenty of available water sources on their route. They work by using the sucking pressure applied by the user’s mouth to pass the water through a filter between one end of the straw and the other, and most models are effective in eliminating most bacteria, protozoa, and pathogens – but not viruses.
All told, straw filters are a good option for day hikes or personal use (as opposed to group use), but lack the ability to process large quantities of water required for cooking or campsite use due to the absence of any container (other than your belly!) in which the purified water can be stored.
One of the most popular straw filters is the basic LifeStraw, which is highly effective in eliminating all of the parasites and bacteria commonly found in North America.
Pros
- Cheap
- Lightweight
- Ideal for day hikes
Cons
- Not suitable for purifying large quantities of water
- Mechanical and, therefore, liable to break
A Note About Water Bottles
There used to be a lot of discussion about standard Nalgene brand water bottles because they contained BPA, which may or may not be cancerogenic depending on which study you read. As a result, many backpackers began opting for other brands in non-standard shapes and sizes. This diversity has complicated many a backpacking trip because most filtration systems are designed to work with standard wide-mouth bottles. Other sizes can be accommodated, but with varying degrees of difficulty.
PRO TIP: Water bottles containing drink mix may attract bears – be sure to store them safely away in a bear bag!
My recommendation: Backpackers should carry two one-liter bottles, ensuring one bottle is compatible with their filtration system and putting their drink mixes in one and keeping the other clean.