Hammock Camping 101: Beginner’s Guide
Looking to Learn about Hammock Camping?
You’re in the right place! In this guide, we will be covering the following:
- Learn how to choose the perfect hammock pitching location
- Know the main components of a hammock camping setup
- Understand the mechanics behind hanging a hammock successfully
- Learn how to maximize your hammock setup for different weather conditions
- Find a few tips to help optimize your hammocking experience
Back in the day, hammocks were contrivances fit only for lazy afternoons in the yard or impromptu naps when visiting the park with the family. Times have changed. These days, advances in technology and the creativity of a few outdoor-minded innovators mean that hammocks are more functional and trail-worthy than ever before. More importantly, hammock camping is not only a highly practical and pleasant way to catch your Z’s in the great outdoors but also a whole lot of fun.
Below, we’re going to tell you everything you need to know to get started in hammock camping, from the basics of kit selection right through to customizing your setup for different conditions and circumstances.
Do
- Choose a safe and suitable spot to hang your camping hammock
- Practice your setup before heading for the hills (or forest/desert/mountains)
- Choose your trees carefully (avoid bird nests, fragile mosses, and never break branches)
- Invest in a bug net if hammocking in bug season
- Add an underquilt for added comfort and insulation
Don’t
- Hang your hammock under a tree with rotten limbs
- Surpass the load capacity of your suspension straps or hammock
- Disturb wildlife or be tempted to break or cut branches
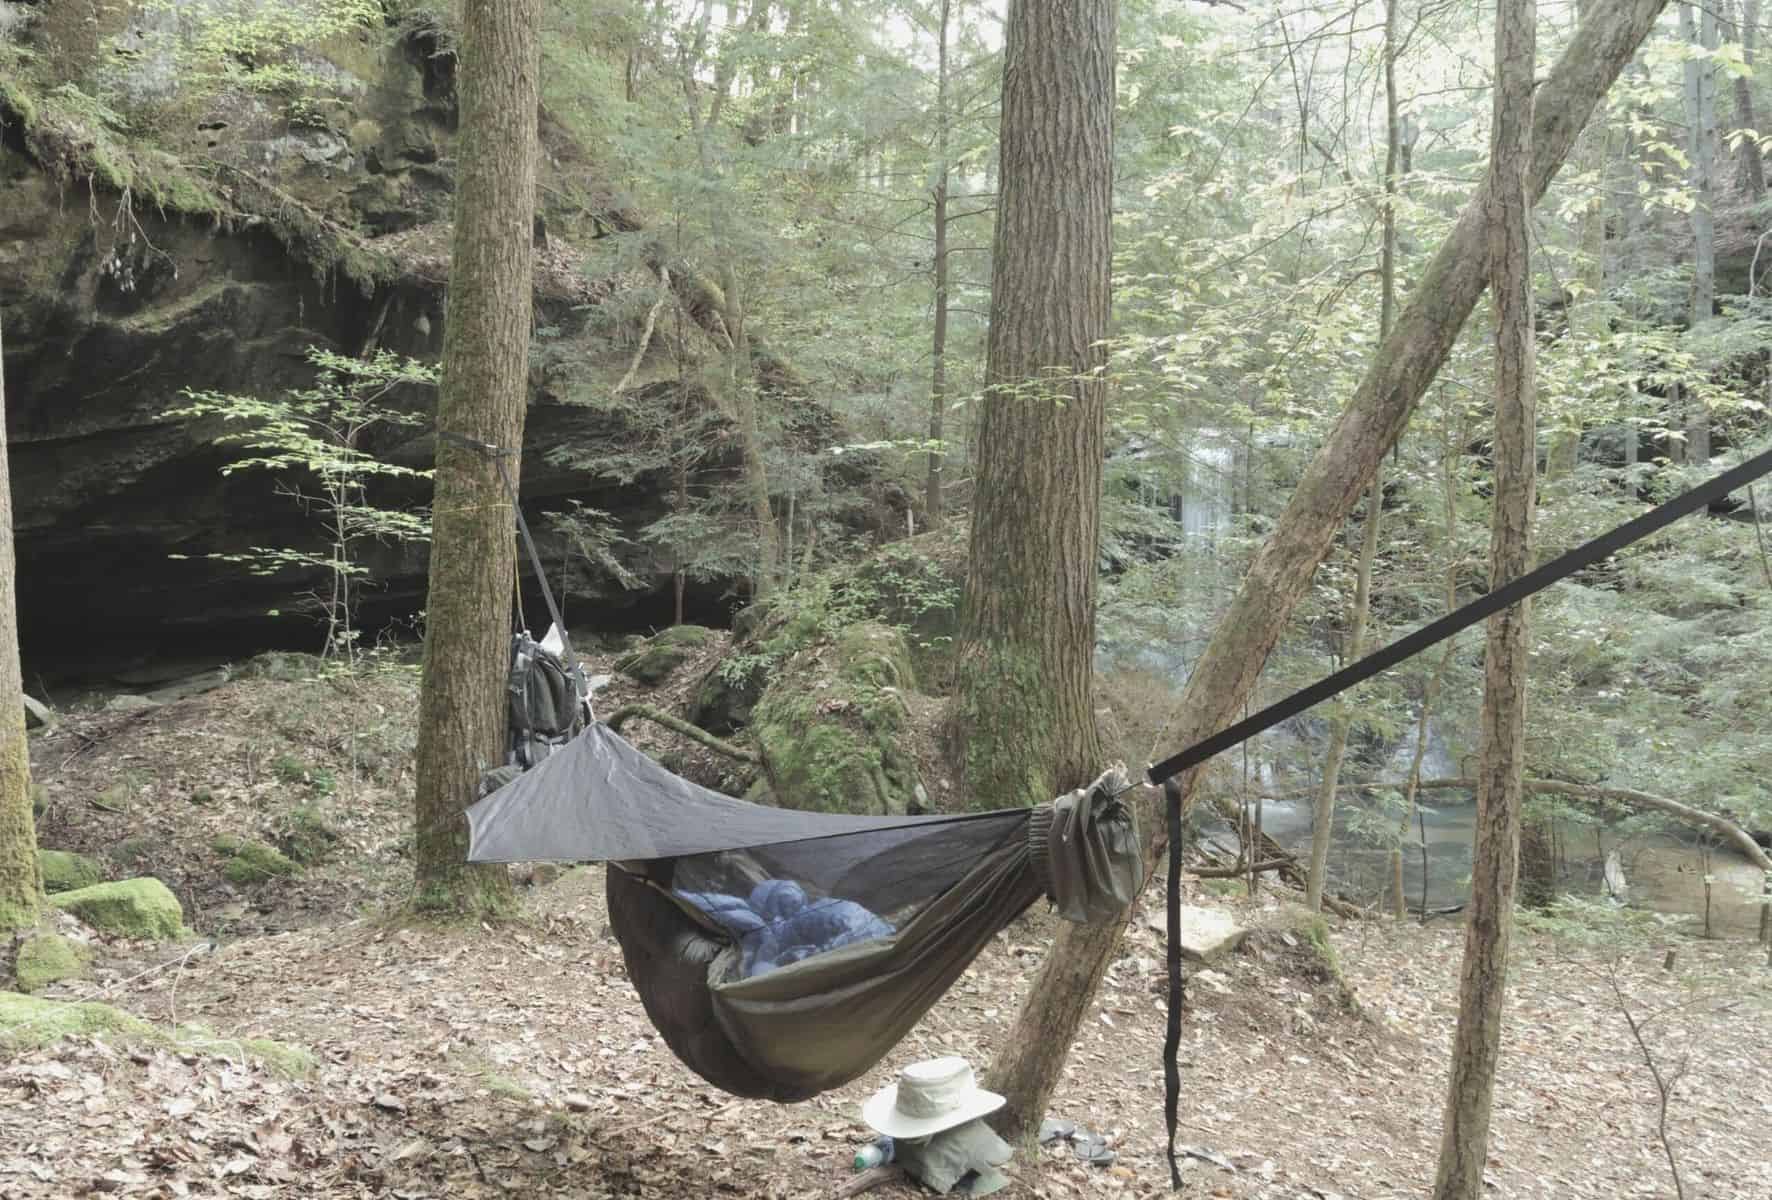
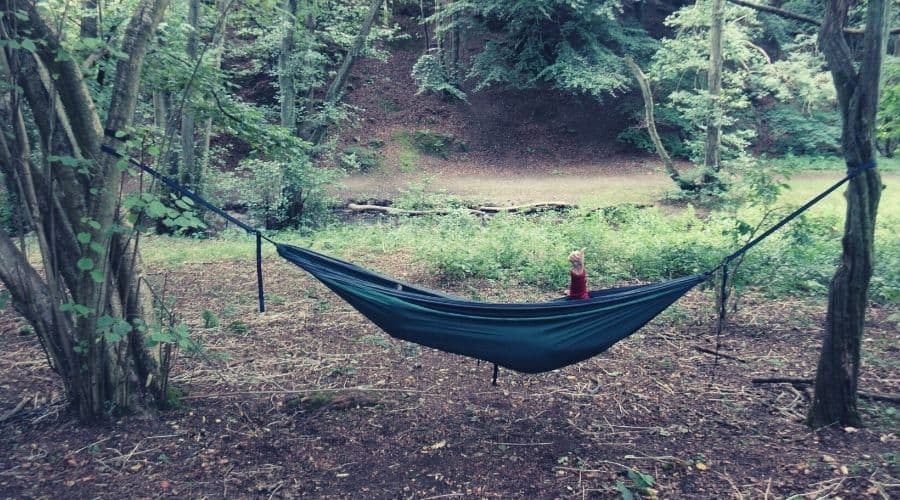
What is Hammock Camping?
In a few words, hammock camping is precisely the same as regular camping, only you sleep in a hammock suspended above the ground as opposed to inside a tent on the ground.
A camping hammock is typically suspended between two trees, but you can also use rocks, vehicles, or even a single, large, horizontal branch.
To make your hammock setup suitable for the backcountry, you can add weather protection in the form of a tarp and keep bugs at bay with a bug net. In most cases, these are sold separately, but some ‘expedition’ model camping hammocks use integrated bug nets, rainflys, and even insulated underquilts (quilted fabric attached to the underside of the hammock) for added warmth.
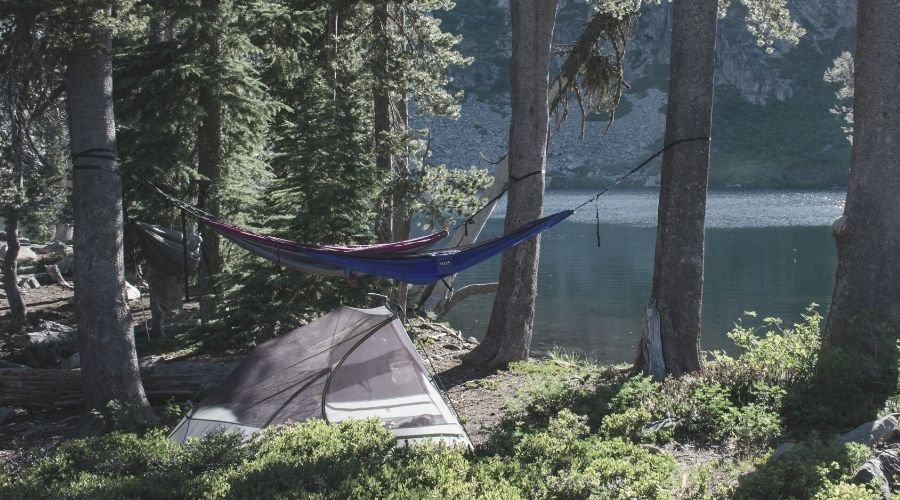
Camping in a Tent vs. Hammock
Both traditional tent camping and hammock camping have advantages and disadvantages. Below, we’ve outlined these with a short, at-a-glance list of pros and cons:
Tent Camping Pros & Cons
PROS
- Easy to pitch a tent in almost any terrain
- Easy to keep out airborne bugs
- Groups and families can sleep together in the same ‘room’
- Internal gear storage
- Tents perform better in poor weather conditions
CONS
- Lumpy sleeping surfaces (even with a sleeping pad)
- Earthbound critters can enter a tent
- Limited views
Hammock Camping Pros & Cons
PROS
- Hammocks are lightweight and compact
- Comfortable – wet or rocky ground isn’t a problem
- Sleeping pads are optional (only required in cool weather)
- Stargazing – you have a clear view of the night skies
- Affordability – good hammocks typically cost less than good tents
- Less condensation (and, thus, no soaked sleeping bag or gear!)
- Air! Hammocks offer far better ventilation
- Lightweight – a good option for long-distance backpacking
- Sleeping in a hammock is fun!
CONS
- Tricky to set up without sturdy trees
- Less comfortable to sit out a storm or rain shower
- Might be tricky bringing your four-legged friend in there with you
- Offers less protection than a tent in bad weather
Hammock Camping Essential Gear
Before we get down to the nuts’ n’ bolts of choosing your pitch and setting up your hammock, let’s take a look at each of the pieces of kit you’ll need.
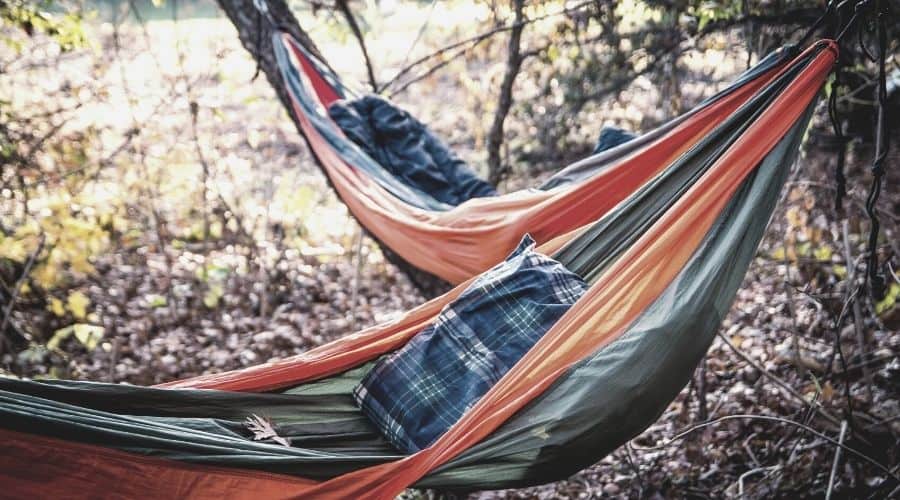
Hammock
This central component is well worth spending a few extra $ on.
An excellent hammock for camping or backpacking will be made with 60 to 80-denier ripstop materials that can withstand the inevitable collisions with rocks, branches, and gear in your pack. Ideally, the fabric should also be breathable, quick-drying, and feature triple-stitched seams for added robustness and durability. If it has an integrated stuff sack/stow pocket, all the better…!
Make sure the fabric’s weight capacity is a good few pounds higher than your current weight to leave a little leeway for future weight gain or bringing gear in the hammock with you.
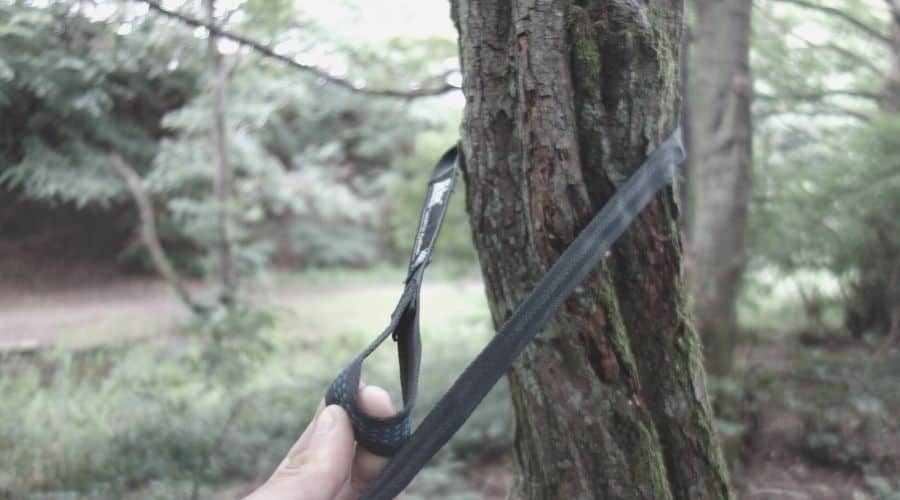
Suspension System
This refers to the straps, slings, and carabiners that attach your hammock to your anchor points. These are usually sold separately from the hammock but make setup an absolute cinch by saving you from having to tie any hammock knots with ropes. Most also use wide straps that are gentler on trees, and some come with additional sleeves to protect the tree at load-bearing contact points.
For ethical reasons, standard climbing or sailing ropes should be avoided – their skinny girth makes them dead certs to tear the bark of your two trees to shreds.
Further reading: Get the low down on the best hammock straps.
Sleep System
Sleeping Pad
A regular, tent-camping sleeping pad won’t only add a little more comfort to your setup but also provide extra insulation – a must in all but the warmest conditions, even when using a sleeping bag.
The only trouble with a typical sleeping pad is that their rectangular shape is awkward to fit into your hammock. One way to get around this problem is to buy a hammock with an integrated pad sleeve. Another way is to deflate an air pad slightly so it’s less rigid and can conform to the shape of the hammock. Lastly, there you can either cut a close-foam cell pad to fit, or look for the handful of hammock specific pads on the market.
If you’re still unsure then check out our guide to the best sleeping pad for hammock camping.
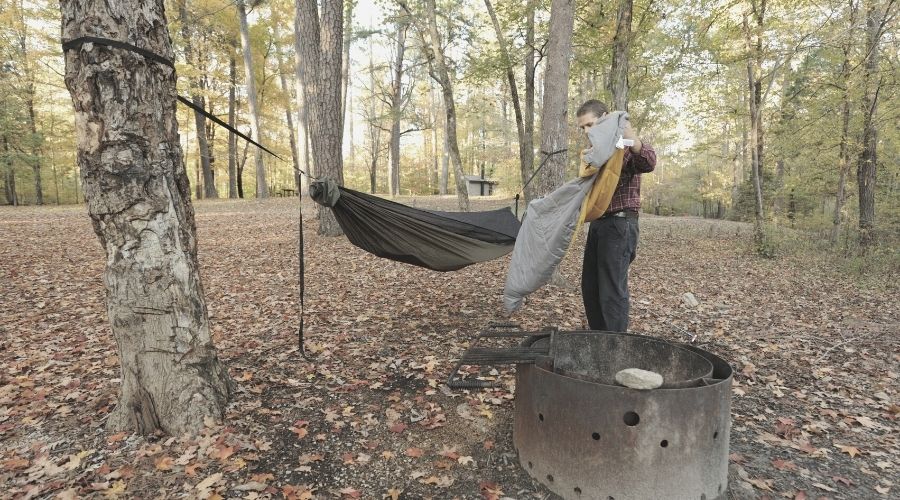
Underquilt
This is an accessory that can be attached to the underside in place of a sleeping pad.
While adding to expense, underquilts are more effective than sleeping pads for two reasons. First, they hang on the outside of the hammock, meaning there’s no wrangling to get them to fit inside, and they don’t take up any sleeping space. Secondly, they insulate better because their insulation is external and isn’t compressed by your body weight.
Further reading: We’ve reviewed some of the top brands on the market to determine the best hammock underquilt.
Sleeping Bag
Just like regular tent camping or backpacking, don’t forget to pack a sleeping bag to stave off the nighttime chill! If your in need of a new one, then our guide to the best sleeping bag for hammock camping should have you covered!
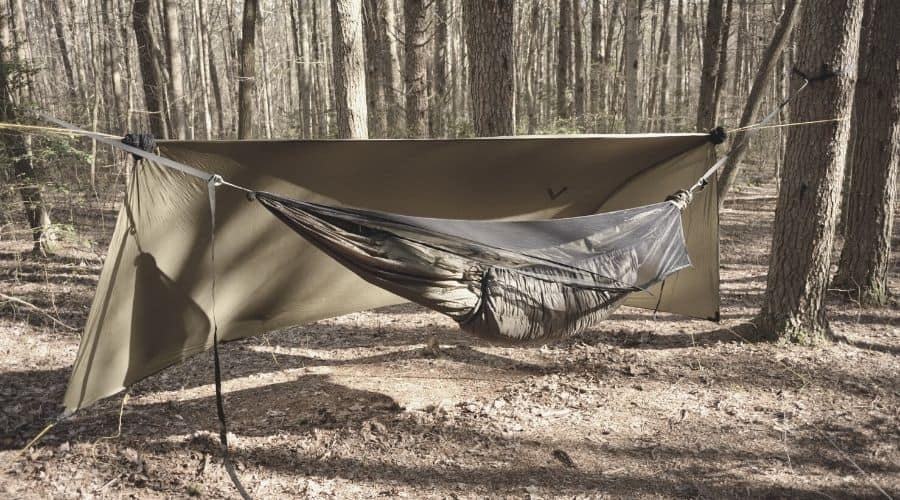
Rain Tarp
This accessory takes the place of a rainfly in a standard tent setup to provide protection from the elements.
Rain tarps are tied above the hammock at the anchor point, usually over a ‘ridgeline’ that forms an inverted ‘V’ and allows rainwater to slide off the tarp fabric. It’s also always best to tie off the tarp’s sides to ensure this water drips well clear of your hammock and the sheltered space beneath your pitch.
Many models of hammock are sold with customized, fitted rainflys. If you chose to use a tarp – which is usually far cheaper – be sure to check that is:
- big enough to cover your hammock, leaving roughly 1.5 to 2 feet on either side to be on the safe side
- has substantial grommet holes or clips that make it easy to attach to anchors or peg out
- is made with water-resistant fabric
If you want to opt for a seperate rainfly, then check our article on the best hammock tarps.
Bug Net
Hammocking all but eliminates the risk of earthbound critters creeping into your coop while you catch your Z’s. Sadly, the airborne variety are still a problem. And with the open entry to a hammock increasing exposure, camping in bug season means you’ll quickly become fodder for flying nuisances if you don’t take the appropriate measures.
Some hammocks are sold with integrated bug nets, some aren’t. If your hammock has no net, we highly recommend investing in a simple net that covers the entire length and breadth of the sleeping area. We’ve done some research for you to help pick the best hammock bug net for your needs.
It’s also wise to suspend the net away from your body to prevent bugs from biting you through the mesh. This can be done by attaching the net to your rain tarp, by simply laying a stick across the lip of your hammock or creating a second ridgeline and suspending the net over this.
If sleeping without a sleeping bag, pad, or underquilt, we recommend dousing the underside of your hammock with a little bug spray to reduce the likelihood of butt and back bites through the bottom of the hammock.
Hammock Stand
While not suitable for backpacking, if you want to go hammock camping at a drive up car camping ground and know there is going to be a distinct lack of trees, then consider purchasing a portable hammock stand.
Setting Up Your Gear
How to Pick a Good Pitch
As with tents, look for a spot that is sheltered by natural windbreaks. Look for features in the terrain like hollows or spots protected from the wind by boulders, outcrops, copses, or knolls.
Before deciding on a pitch spot, be sure to measure the distance between your hang points to ensure your suspension straps are long enough. Also, look up. If you spot any bird nests, the ethical choice is to find another set of trees. If you spot any precariously poised or rotten looking branches, be aware that strong winds or rainfall could easily cause these to collapse during the night.

Ideally, your trees should be around 12-15 feet apart, with relatively clear ground between them. They should also be a minimum of 6 inches thick, though burlier trees will move around less and make for a more stable sleeping experience.
Attempt to anchor your suspension straps to the trees around head height or roughly 5-6 feet from the ground. For more details, please check out our guide on how to hang a hammock or alternatively our guide on how to a hang a hammock without trees.
Notes on Hammock Angles
If your hammock’s too flat or saggy, then enjoying a good, comfortable night’s sleep is slim. To avoid this, take a few steps back from your hammock after anchoring to assess your setup with a geometer’s eye. Sound complicated? Luckily, it isn’t at all…
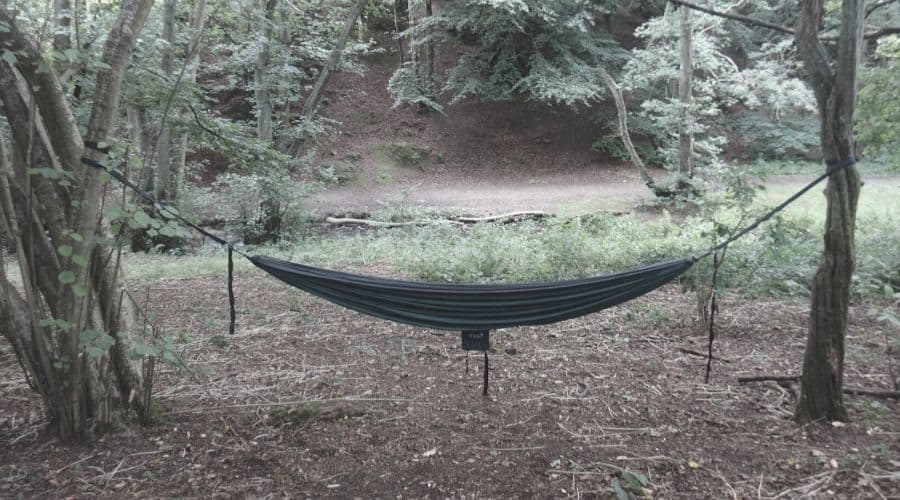
First up, throw your backpack and sleeping bag in the hammock to weight it. Next, take 5 or 6 steps back and look at the angle made between the tree and your suspension straps on the lower side. This should be roughly 30 degrees. Any less and your hammock fabric will be too taut and easy to roll out of. Any more and the curvature in the material will be excessive and place a lot of strain on your back.
Finally, another way to ensure you’ve got your angles right is to check the clearance between the bottom of your hammock and the ground once you’re inside. This should be around 20 inches, which, if you’ve anchored at head height on trees 12-15 feet apart, should result in that magic 30-degree angle between the trees and straps.
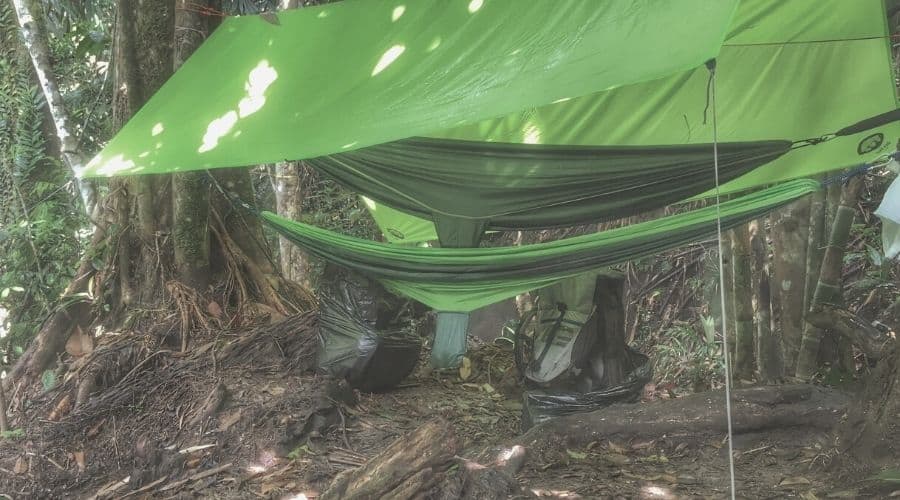
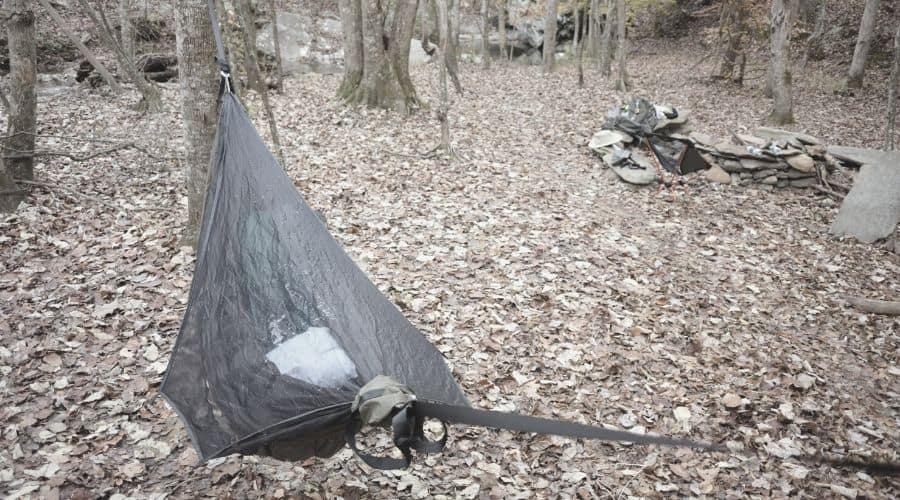
Setting Up Your Rain Tarp
It’s always a good idea to anchor your rain tarp first. Not only does this make it easier to set up your hammock, but it also ensures you’ll have a sheltered working space should the wet stuff start falling while you’re pitching.
Rain tarps should ideally be anchored roughly a foot higher than the hammock. That said, you can still leave yourself plenty of space between the tarp and hammock if you anchor the tarp only slightly above the hammock straps but tie the tarp straps tighter. Also, the closer your tarp is to your hammock, the less chance there is of rain being driven into your hammock by strong side winds.
The most practical and reliable rain tarp configuration is the ridgeline. This is made by simply tying a line that stretches directly above your hammock and placing the tarp over the line with equal parts of the fabric on each side. The corners of the tarp should then be tied off (using other trees or even rocks on the ground) or pegged out to keep the tarp in place.
Attaching the Bug Net
The particulars of this step will depend on the type of net you’re using.
Customized nets usually feature a zip opening that provides access to the hammock after tying the net to the hammock’s anchor points.
Generic, zipperless nets can perform just as well, though lack the convenience of a zipper and may also lack attachment points. In the latter case, bunch the end of the net’s fabric together and tie a short length of cord around the bunched material with a solid knot. Then tie the other length of the cord either directly to the hammock straps or to the tree.
When the net is tied on at both ends, you need to make sure the net is suspended above the sleeping area to prevent bugs from biting you through the mesh fabric. This can be done in one of three ways:
- by attaching it to the rain tarp ridgeline
- by creating another ridgeline specifically for the bug net
- at a push, simply laying a couple of thin twigs or branches across the lip of your hammock.
Tree Safety and LNT (Leave No Trace)
As with safety for humans, safety for trees begins at home – in this case, at the point of purchase. One of the most common causes of damage to trees by hammock campers is the use of overly slender suspension straps, which dig into the tree when weight is applied and strip the bark.
When buying your straps, make sure they are a minimum of 0.75 inches wide (though a more ethical option is over 1” wide) and bring an old cloth/rag to place between the strap and the tree to further reduce the risk of damaging the tree.

Also, be sure to choose healthy, robust trees that will be able to support your weight without breaking – these are typically a minimum of 6 inches in diameter, but the wider, the better.
Finally, be sure to camp 200 feet from water sources and check that you won’t disturb wildlife by keeping an eye out for birds’ nests or any other tree-dwelling critters before pitching.
Additional Tips for Hammock Camping
Practice Before You Pitch
It might take you a few tries to get your setup nailed. To make sure you don’t waste any precious downtime trying to fine-tune things once out in the wilds, spend an afternoon in your yard or at the park practicing your setup.
Use a Suspension Stick
If your chosen pitching place are too far apart, this could make your hammock sag excessively once you’re inside. To get around this problem, find yourself a “suspension stick” to prop up the strap on one side. Choose a sturdy stick with a forked end, dig a three or four-inch hole to keep the other end in place, and slip the strap between the fork as close to your hammock as needed.
Bring a Friend
Camping is always more fun with friends, so why not invite a few along for the ride. If this is one of your first trips, it also makes a lot of sense to head out with someone a bit more experienced.
Failing that, why not go hammock camping with your dog?
Bring a Pillow
Many hammock campers find that the angled hammock fabric provides more than enough support for their head while they sleep, but not all. If not needed for your head, you can always use it to prop up your feet.
Steer Clear of Center
If you shift your body away from the center of your hammock, you’ll have much better views over the fabric’s lip.
Storage Matters
Bear in mind that the area under your hammock will provide plenty of room for dry storage and, importantly, don’t be tempted to bring too much gear into the hammock with you. Doing so may push you over the weight capacity, and any sharp objects could easily tear through the fabric.
Pitching in Tree-Free Terrain
If you’re making camp above the treeline or in the desert, rocks are likely to be your best bet as anchor points. If so, it’s a good idea to carry a small selection of camming devices (aka “friends”), stopper nuts, or large slings – just be sure you know how to place them correctly!
Keep Your Gear in Good Condition
After every trip, always take time once your home to inspect your kit checking for tears, rips or any other defects. It’s much better to get these things repaired now, than the evening before your next trip.
Further reading: Learn how to wash a hammock correctly, without destroying it!
Conclusion
Hammock camping is a fun way to “elevate” your backcountry camping experience. Not only does it provide excellent opportunities for stargazing and feeling more fully immersed in nature, but it is also very practical and easy to do if you follow the guidelines outlined above.
How did you like our article? If you found it useful or have any questions, please feel free to add a comment in the box below. And if you’d like to share with your friends, share away!
Further Reading
Check out our guides on hammock types: