How to hang a hammock – Guide to Knot tying
Looking to learn different knots for hammock camping?
You’re in the right place! In this guide, we will be covering the following:
- Learn the terminology of knot tying for hammock camping
- Learn 10 indispensable knots to aid pitching your hammock
- Examples of when best to use each type
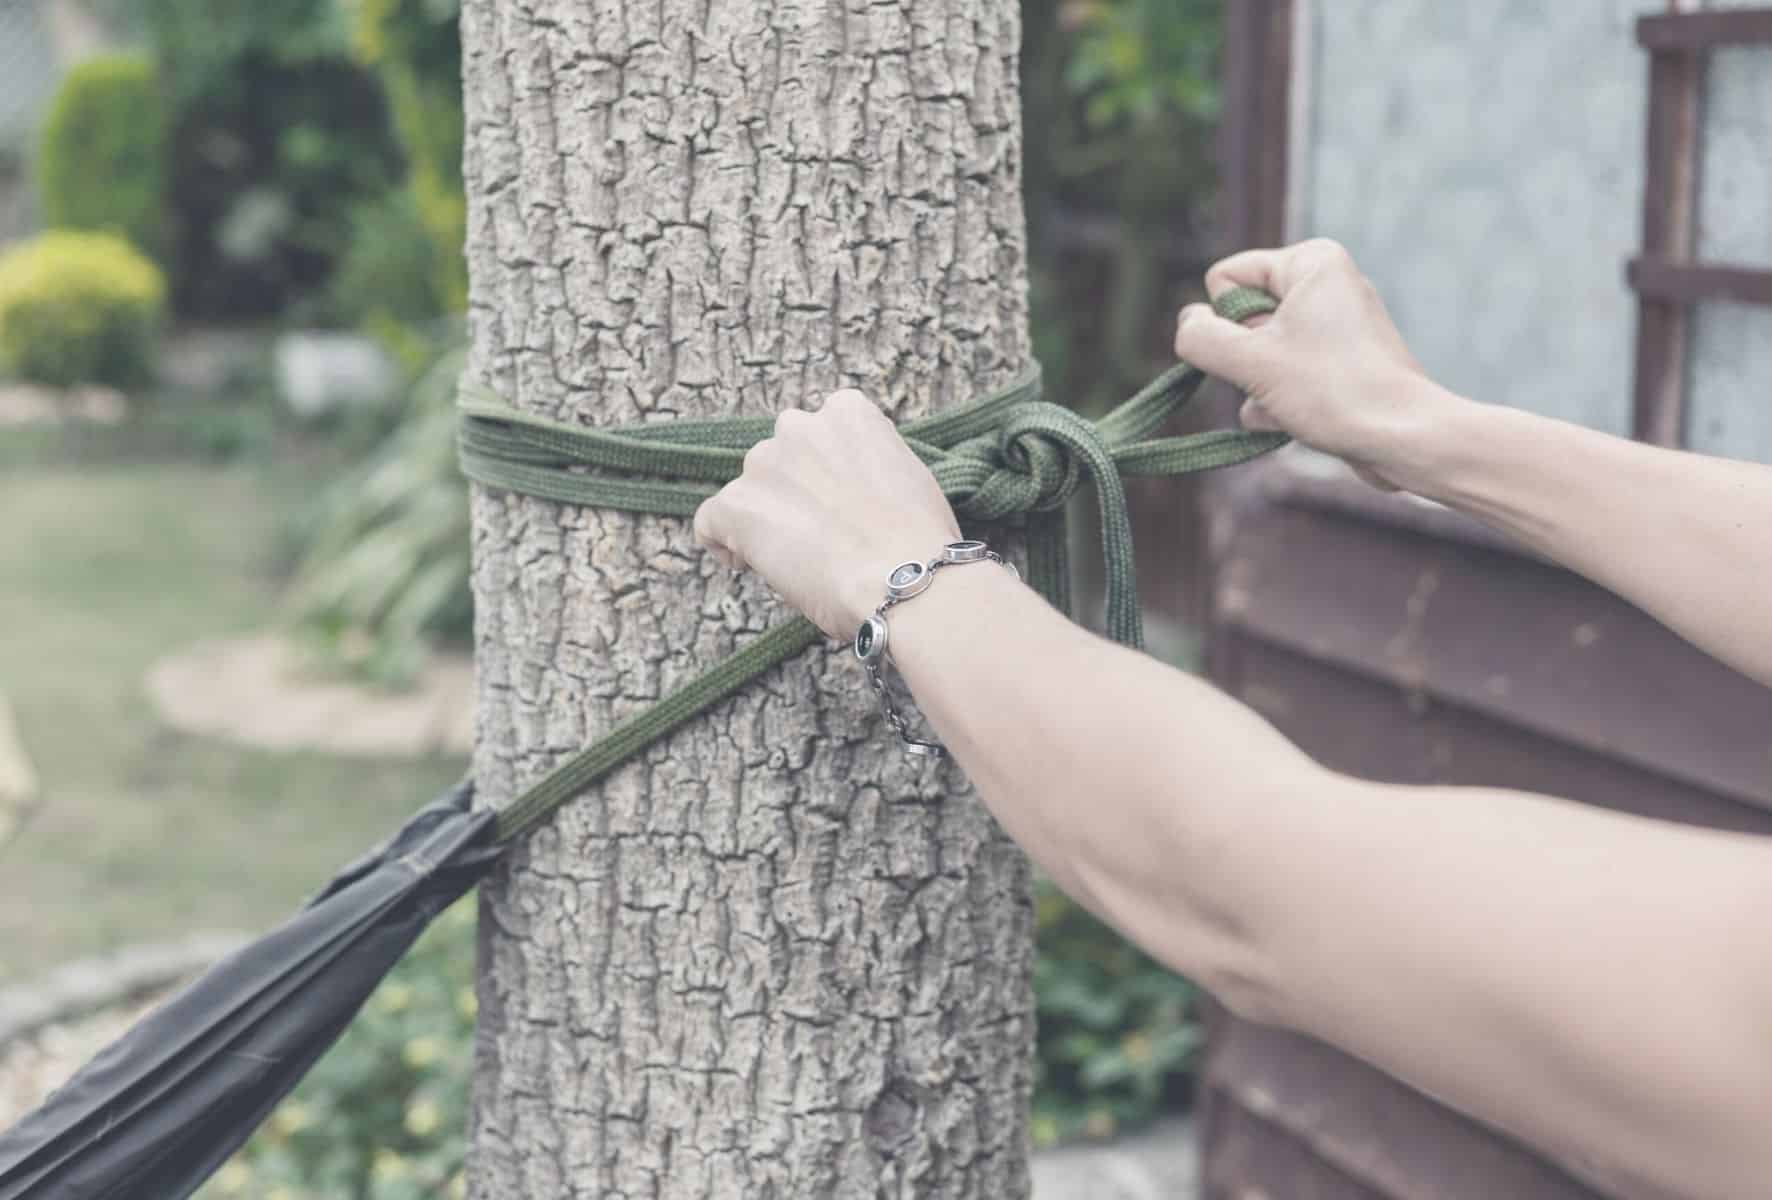
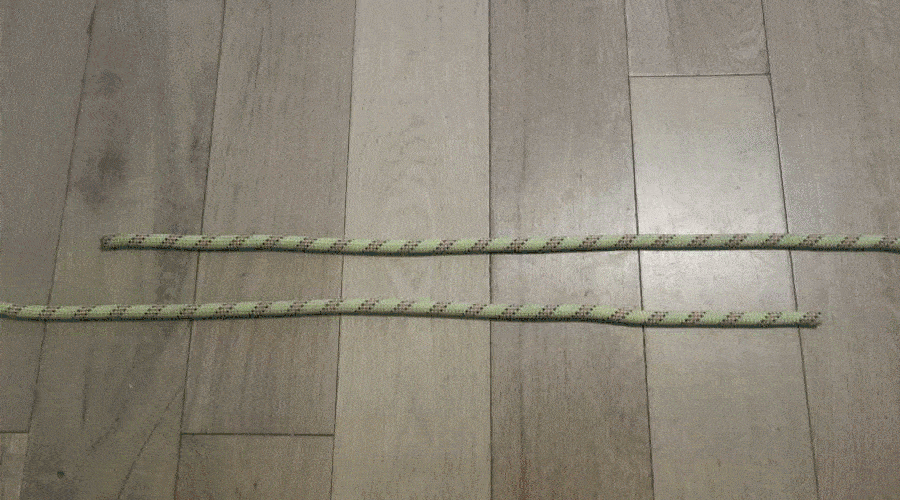
Whatever activity you do in the outdoors, knowing how to tie a selection of knots for different situations is sure to come in handy. This is never more true than in the case of hammocking and hammock camping.
Below, we offer the ultimate guide to hammock knots with an introduction to different types of hammock knot in addition to a selection of ten knots everyone should know when hammock camping and exploring the great outdoors in general.
Hopefully, by the time you’ve mastered them all, you’ll be able to hang a hammock no matter what odd pitching situations you find yourself in.
The Different Types of Knots for Hanging a Hammock
While tree straps make it easy to hang a hammock, the more you hammock camp, the more often you’ll run into situations where you’ll need to make adjustments to your hammock’s setup. Knowing a range of knots can hanging a hammock in odd situations (like hanging a hammock without trees) infinitely easier.
Further reading: Hanging hammocks is straightforward with our easy to use guide on how to hang a hammock.
The term “knot” is used generically to refer to stopper knots, hitches, and bends. Each of these three types of knots serves different purposes, can be used in different situations and has multiple configurations or sub-types.
Below, we offer a quick overview of each type of knot:
Basic Knots/Stopper Knots
These are distinguished from other types of knots by being self-sustained and self-supported, meaning they don’t rely on other materials (hitches use stakes, poles, or carabiners and bends use other ropes) for their integrity.
Examples: Figure 8, Bowline, Square Knot, Surgeon’s Knot, Overhand Knot, Overhand Knot on a Bight
Hitches
These require another object to be tied. This object may be a stake, peg, pole, tree, carabiner, or even another rope (in the case of a Prusik, for example).
Examples: Girth Hitch, Clove Hitch, Barrel Hitch, Cat’s Paw Hitch, Rolling Hitch, Taut Line Hitch, Half Hitch.
Bends
Bends are used to tie two ropes or lengths of webbing together. This can come in handy when setting up a hammock without specific hammock hardware (S-hooks, chains, or carabiners) or if you need to extend your suspension straps, ridgeline, or guylines.
Examples: Fisherman’s Knot, Water Knot, European Death Knot (far more reliable than it sounds!), Beer Bend (no beer required!), Sheet Bend, Figure 8 Bend
Hammock Knot Terminology
To help you follow the guide below, here are a few potentially confusing terms we might use:
- Working end – the one end of the rope you are using to tie a knot. Also known as the “active end” and the “tail”
- Standing end/standing part – the section of the rope you are not working with when tying your knot
- Bight – any part of the rope between the ends made into a U-shape. Also refers to a curved section of the rope within a knot that is tied or in the process of being tied
- Loop – a bight becomes a loop when the two ropes or strands of rope cross
- Elbow – two or more loops close together
Further reading: Consider getting a set of lightweight hammock straps to protect trees and make pitching easier.
10 Must-Know Hammock Knots and How to Use Them
Now that we’re down with the basic lingo and know the major types of knot and their uses let’s take a look at ten essential knots for hammocking and other outdoor adventures.
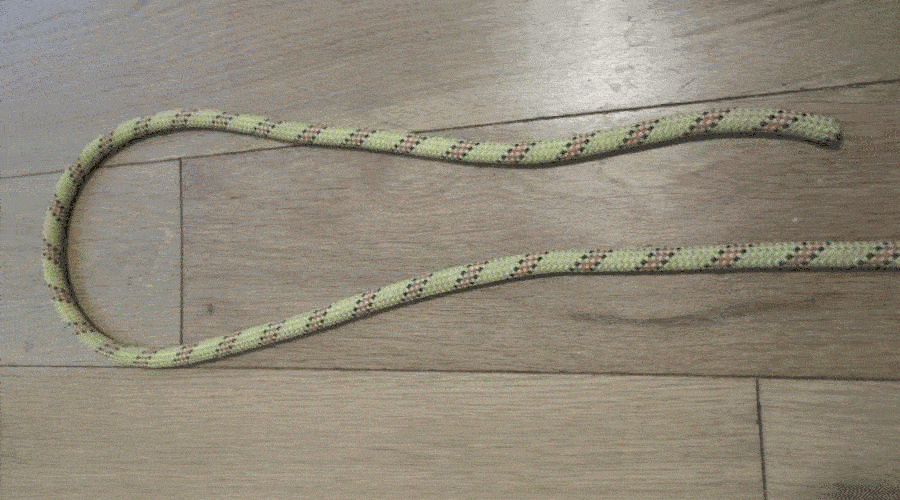
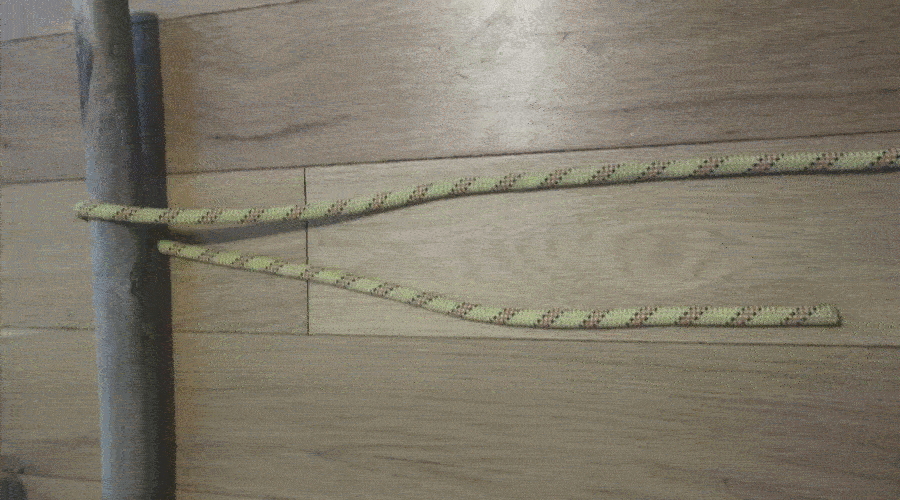
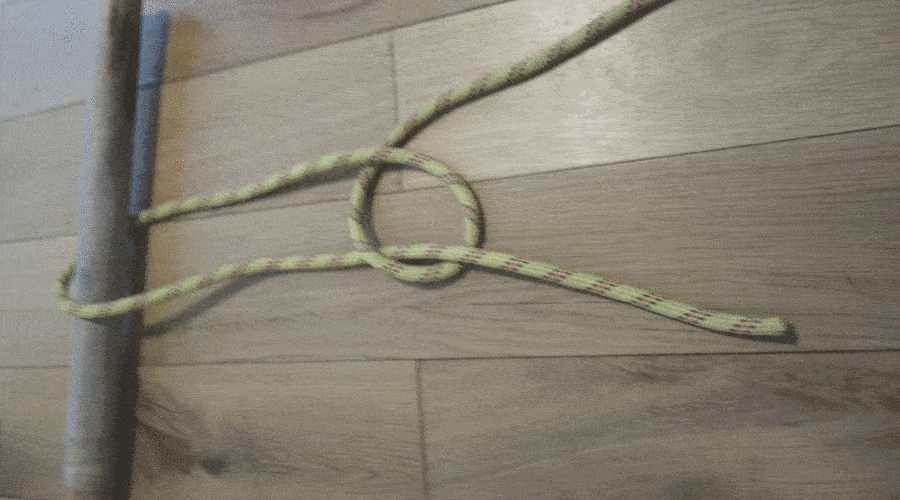
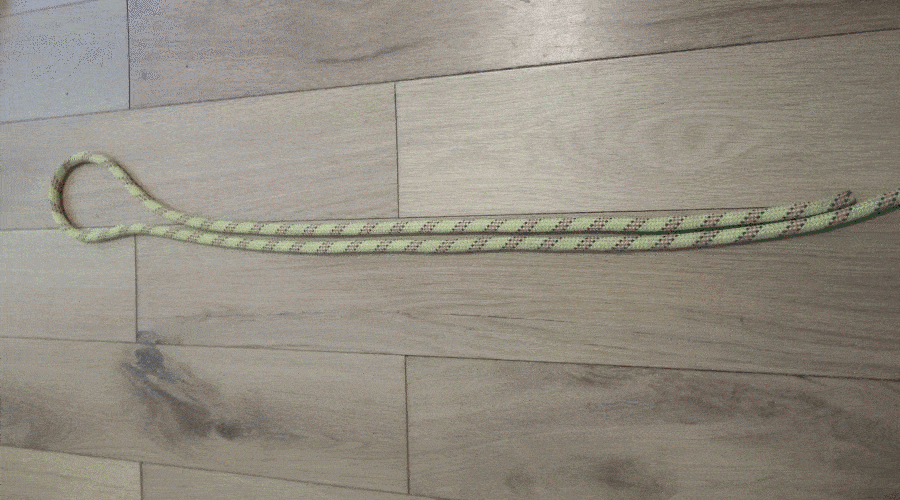
1. Overhand Knot on a Bight
Use: This straightforward knot is easy to untie and ideal for making bights (which serve as attachment points for carabiners and S-hooks) on your suspension straps and the initial bight/loop required if girth-hitching your strap to a tree or post.
Tie it:
1. Form a bight with the tail end of the rope and roughly 12-14 inches of the standing end.
2. Pinch the two strands of rope around ten inches from the tip of the bight with one hand.
3. Cross the bight over both of the standing strands to create a loop.
4. Pass the bight under the rope and thread it through the loop.
5. Tighten by pulling the loop away from the knot and then pulling each strand individually.
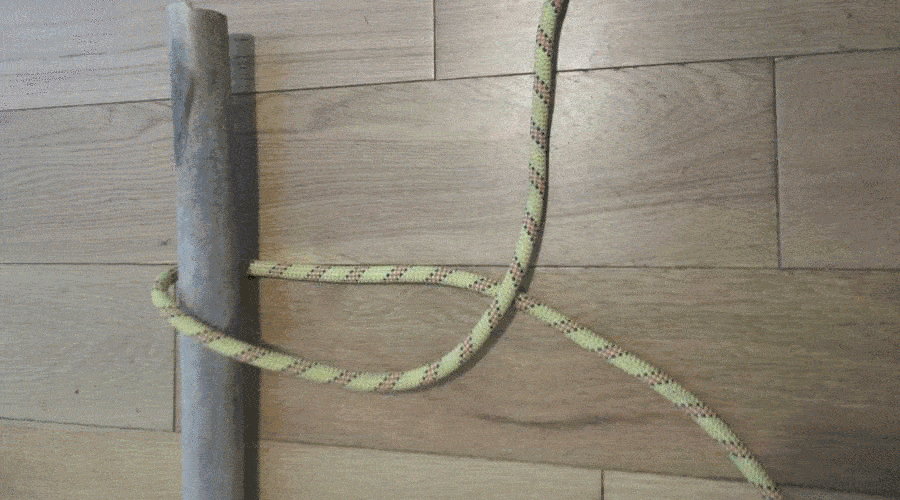
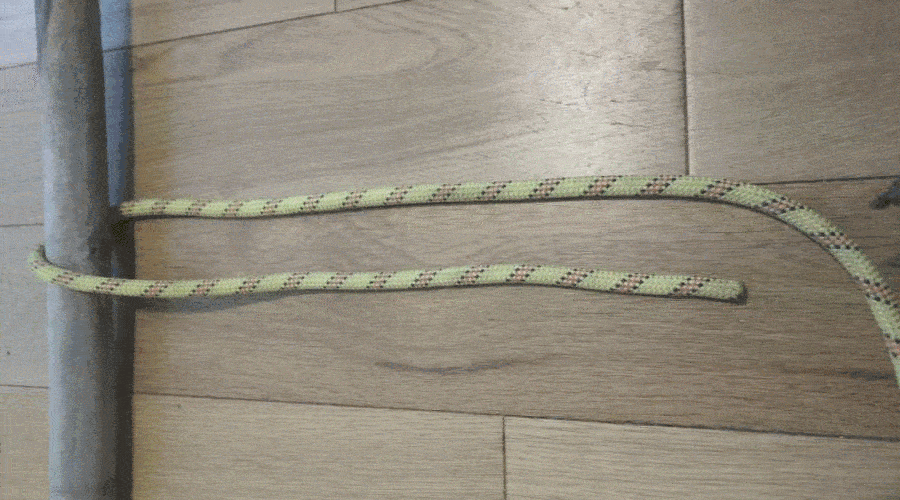
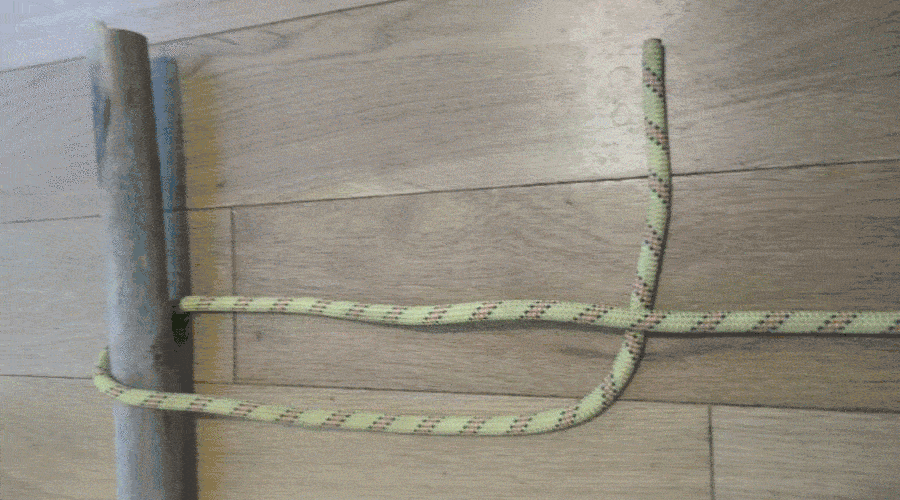
2. Clove Hitch
Use: Possibly the most versatile and user-friendly knot there is, this hitch is very easy to adjust and untie. As such, it’s ideal for everything from pegging out guylines to setting ridgelines to hitching straps or hammock ropes to carabiners. A hammock camping all-rounder, you could say…
Tie it:
1. Wrap the rope around the peg, pole, tree, or stake for a complete turn.
2. Cross the standing end over the peg/pole to create another turn.
3. Pass the tail end of the rope under itself.
4. Tighten by giving both the tail and standing end a short tug.
3. Bowline Knot
Use: The bowline knot is commonly used in climbing and for tying a hammock rope around a tree or similar type of anchor. Although secure when loaded/weighted, it can shake loose when not loaded/weighted. As such, it’s best to back it up with a stopper knot.
Tie it:
1. Make a small loop in the tail of the rope, leaving roughly 10-12 inches between the tip of the tail and the loop’s tip.
2. Pass the tail through the loop.
3. Pass the tail through the bottom of the smaller, inside loop created by Step 2.
4. Pull the tail tight.
5. Secure the knot by pulling all strands tight individually.
4. Double Fisherman’s Knot
Use: Another option for tying two lengths of rope together, this knot has a lower profile than other bends but can be trickier to untie after loading with a heavier weight.
Tie it:
1. Bring the two tails of rope together so that they overlap by 16-18 inches
2. Run the tail of the right rope over and behind the left rope and then tie an overhand knot
3. Repeat with the tail of the left rope, so you have two opposing overhand knots.
4. Tighten the knots.
5. Pull the standing ends until the knots rest snugly against each other.
6. Make sure you have two Xs on one side of the knot/bend and four parallel strands on the opposing side.
5. Double Figure 8 Hitch
Use: Although slightly trickier to tie than an overhand knot on a bight, this hitch leaves a virtually fail-proof bight that’s ideal for making girth hitches with your suspension straps when attaching them to trees or for connecting to carabiners and S-hooks on your hammock.
Tie it:
1. Create a long bight in the rope.
2. Pinch the two strands of rope roughly 12-14 inches from the bight.
3. Cross the bight over the standing strands to create a loop.
4. Pass the bight under the rope, crossing in the other direction.
5. Pass the bight through the loop.
6. Secure by pulling each strand tight individually.
6. Square Knot
Use: Also known as a Reef Knot, this bend is easily tied and can be used either to tie two ends of rope together in your hammock hanging system or to cinch down gear into easy-to-carry bundles when packing up.

Tie it:
1. Bring the two ends of a rope together.
2. Cross one end over the other end.
3. Cross the second end over the first end.
4. Tighten to create a square(ish)-shaped knot.
7. Half Hitch
Use: This simple, easily tied knot isn’t secure when loaded but is an ideal temporary knot for any lines you’re going to have to adjust while setting up. Always back up with a stopper knot once you’ve made your adjustments.
Tie it:
1. Pass the tail around the tree (or peg/stake).
2. Cross the tail around the standing end to make a loop.
3. Pass the tail through the loop.
4. Pull the tail and standing end to tighten.
8. Round Turn Two Half Hitch
Use: This is a more secure version of the half hitch. It’s easy to tie and only takes a few more seconds to adjust than the single version.
Tie it:
1. Pass the rope over/around the tree, (or peg/stake) as with the standard half hitch.
2. Make a half hitch and tighten.
3. Make a second half hitch in the same direction below the first half hitch and tighten.
9. Water Knot
Use: This is a follow-through version of an Overhand Knot and is ideal for tying two webbing pieces together.
Tie it:
1. Tie a large, loose overhand knot in one tail of webbing. Leave at least 5 inches of tail after the knot.
2. Trace the other tail of webbing through the knot, making sure you keep both strands of webbing parallel and flush (without twists) at each stage.
3. Once finished, make sure you have at least 5 inches of tail on each side after pulling the knot tight.
10. Taut Line Hitch
Use: Also known as the “Tent Hitch”, the taut-line hitch is a slip-resistant, adjustable loop hitch that’s ideal for guylines and hanging your rain tarp on ridgelines.
Tie it:
1. Loop the working end around the tree/stake/peg.
2. Wrap the rope tail around the standing part.
3. Wrap the tail around the standing part again, so the tail is pointing in the direction of the tree/peg/stake.
4. Pass the tail downward through the loop.
5. Pull the tail up on the opposite side of the standing part.
6. Wrap the tail around the standing part again (in the direction of the tree/peg).
7. Pinch the loop with one hand on the knot’s side of the pole/tree/peg.
8. Pull the tail with the other hand to tighten.
9. Slide the knot to adjust the tension.
Conclusion
Learning the above knots takes a little bit of practice, granted. Still, by the time you’ve mastered each of them, you’ll be able to safely and securely pitch your hammock like a pro just about anywhere and optimize your hammock set up in all conditions and situations.
How did you like our Ultimate Guide to Hammock Hitches, Bends, and Knots? If you found it useful or have any questions, please feel free to comment in the box below. And if you’d like to share it with your friends or other hammocking buddies, go ahead!