How to Setup a Hammock Rain Tarp
Looking for info on how best to pitch hammock tarps?
You’re in the right place! In this guide, we will be covering the following:
- Learn how to hang a rain tarp to keep your hammock dry in even the foulest weather
- Create a rain-blocking “roof” that doesn’t flap around in the wind
- Understand how to tweak your tarp configuration for different situations
As any camper knows, the weather gods love nothing more than to gatecrash our good time with a little bit of airborne mischief. With just a handful of cheap, simple accessories, however, you can easily make your hammock camping adventures an all-weather affair and protect your hammock set up from the very worst the elements might throw your way.
What You Will Need to Follow This Tutorial
To follow and practice what you learn in this hammock camping tutorial, you’ll need the following:
- A hammock
- Hammock suspension straps
- A hammock tarp*
- 4 pegs
- 4 guylines
- An 18-foot length of cord (over 5mm thick works best)
- A three-foot length of cord to make Prusik hitch
- A carabiner
- Two trees (or similar supports for your hammock and eventual ridgeline)
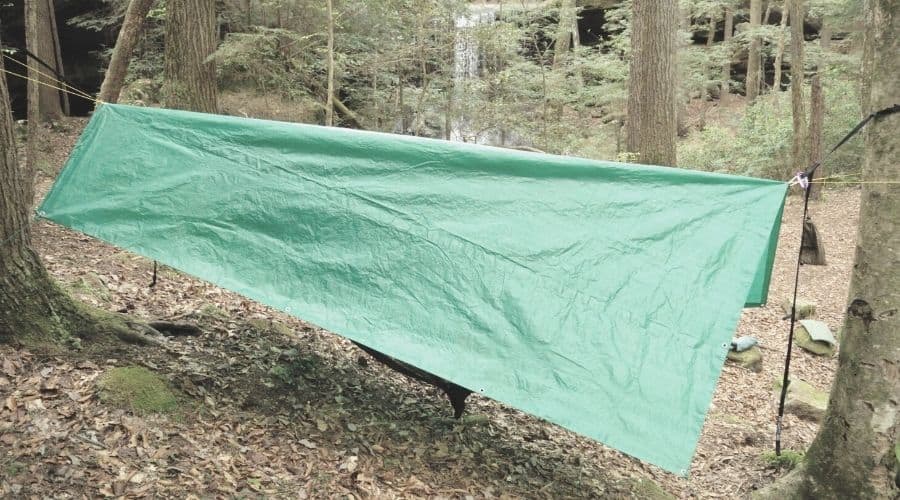
*Make sure your hammock tarp is water-resistant and provides your hammock pitch with enough coverage, ideally extending 12-18 inches past the edge of your hammock on each side. For the A-Frame Configuration, we recommend using a rectangular hammock tarp. For the Diamond Configuration, a square-shaped tarp is necessary.
Further reading: If you don’t have a rain tarp – then check out our buyers guide to find the best hammock tarp for your needs.
Step-by-Step Instructions
In this tutorial, we’ll be looking at two hammock rain tarp configurations: the A-Frame Configuration and the Diamond Configuration. Let’s start with the A-Frame Configuration.
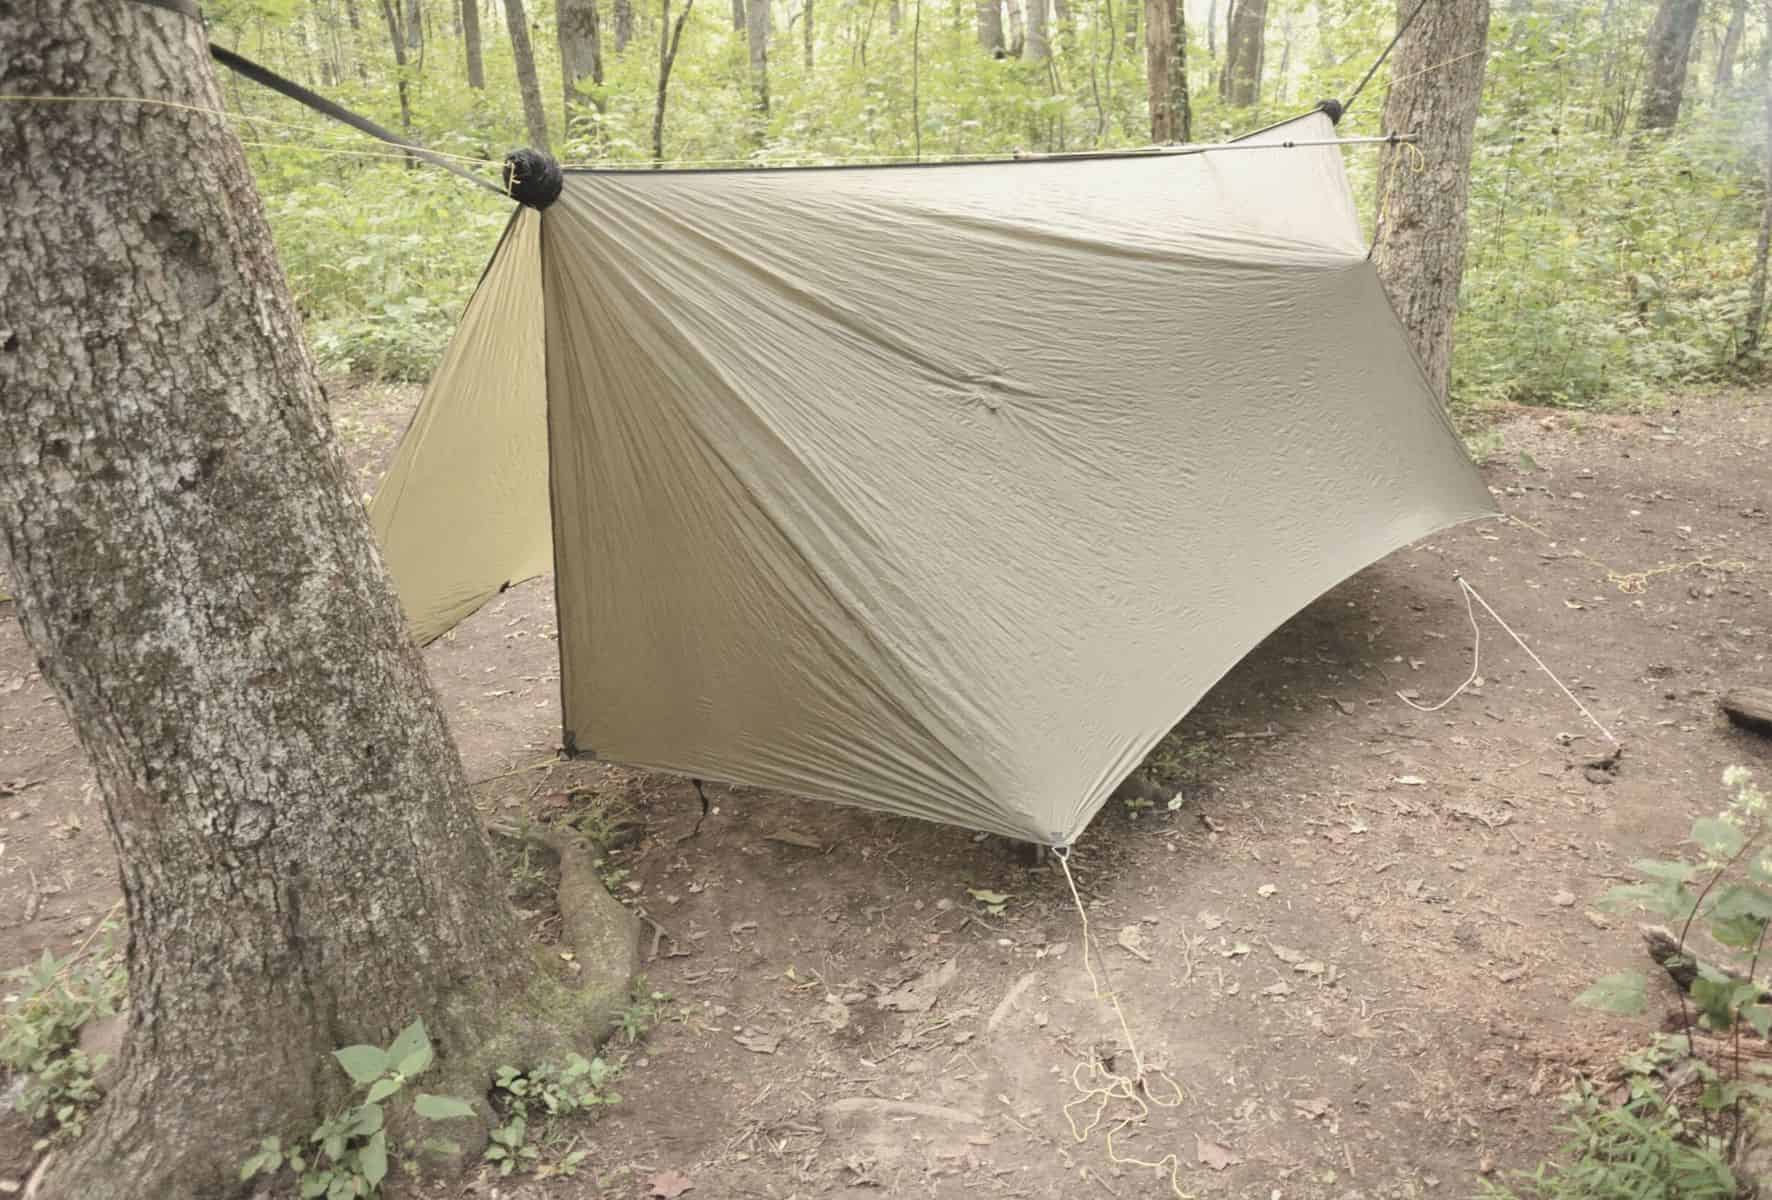
How to Set Up a Hammock Rain Tarp: The A-Frame Configuration
Step 1: Prep Your Gear
With everything else good to go, all you need to do is convert your three-foot length of cord into a Prusik hitch. This can be done with a simple Double Fisherman’s Knot. If you need a reminder of how it’s done, check out our Ultimate Guide to Hammock Knots.
Step 2: Hang Your Hammock
As explained in more detail in our tutorial on How to Hang a Hammock, you should aim to:
- Use two healthy trees that are roughly 12-15 feet apart and 6 inches in diameter
- Attach your straps to the trees approximately 5-6 feet from the ground
- Create an angle between your straps and the tree that is roughly 30-35 degrees on the lower side of the tree
Step 3: Anchor the First End of Your Ridge Line Cord
There are several ways in which this can be done, but by far, the easiest is to use a girth hitch in the end of your cord. Here’s how it’s done:
- Tie an Overhand Knot on a Bight in one end of your cord
- Wrap this end of the cord around the tree roughly a foot above your hammock straps (in wet and windy weather, you can go lower to ensure you have better coverage)
- Feed the remainder of the cord through the bight (loop) and pull the cord tight
- Keep some of the tension on the knot as you walk the rest of the cord over to your second tree
Step 4: Anchor the Second End of Your Ridge Line Cord
- Wrap the cord around the second tree in the same direction as on the first tree and at the same height
- Attach your Prusik Hitch to the working end of the cord – that is, the tail end (the end on the other side of the tree is called the “standing end”)
- Clip your carabiner onto the standing end of the cord
- Clip your Prusik’s loop into the carabiner
- Pull the working end of the carabiner while repeatedly shifting the Prusik hitch towards the tree until the cord it taut
- You now have a ridge line!
Step 5: Rig Your Tarp Over Your Hammock
- Pull one side of your hammock tarp over the ridge line until equal parts of the tarp material lie on each side
- Attach your guy lines to each of the four corners of the tarp (with a simple slip knot if it has grommet holes in the corners; with a slip knot and any stopper knot if you have to bunch up the material to create something to tie onto)
- Attach your pegs to your guy lines (using a Clove Hitch makes it easier to make adjustments)
- Peg out the guylines loosely at first (in particularly lousy weather, pegging closer to your hammock will help keep out wind and rain)
- Gradually take in the slack in your guylines until your hammock tarp is suspended evenly over your pitch
Setting Up a Tarp: The Diamond Configuration
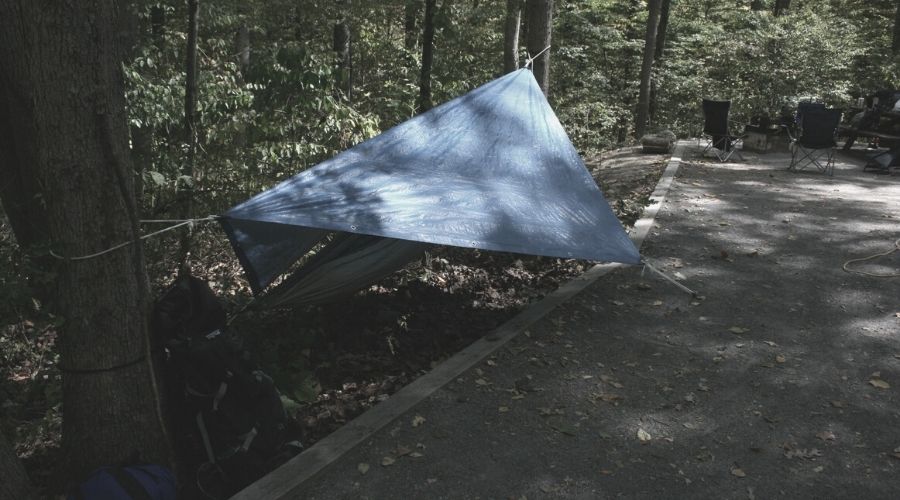
This configuration is every bit as simple as the A-Frame to set up. However, it offers more protection in windy conditions when gusts could throw H20 sideways under the edge of an A-Frame.
The kit required to create the Diamond Configuration is the same as that needed for the A-Frame Configuration. The only exception is that the Diamond Configuration requires a square-shaped tarp.
Steps one through four of the Diamond Configuration pitch are the same as steps one through four of the A-Frame Configuration detailed above. The Diamond configuration diverges with step five.
Step 5: Rig Your Hammock Tarp in a Diamond Configuration
- Pull your hammock tarp over your ridgeline until two opposing corners lie flush on the ridgeline and you have two equal-sized triangles of tarp material on either side
- Peg out the two corners of the tarp not on the ridgeline as explained in step 5 for rigging the A-Frame Configuration
- Tie a simple shoelace knot over the corners of the hammock tarp on the ridgeline if you are worried that strong winds might cause them to shift
Conclusion
One of the commonly cited downsides to hammock camping is that it offers less protection in wet weather than camping in a tent. As demonstrated above, this needn’t be the case. By following the instructions in our tutorial and practicing your tarp & hammock pitching until you have it down, you’ll be able to continue your hammocking adventures even when the weather’s at its most mischievous.
So, how did you like our tutorial? If you found it useful or have any questions, please feel free to comment in the box below. And if you’d like to share it with your friends, share away!
Further reading: Check out our review of the ENO house fly rain tarp!