How to Triangulate Your Position with Accuracy
What You’ll Learn in This Article…
You’re in the right place! In this guide, we will be covering the following:
- The step-by-step process required to locate your position using a map and a compass
- How to take a bearing by using landmarks in the terrain
- Never to rely on your GPS again!
- How to locate north & south in no time
In basic navigation, triangulation is a method or process of pinpointing a location by taking bearings from two or more points.
Used by early mapmakers to survey and plot terrain, these days it remains the most effective way of finding your whereabouts in backcountry terrain without the use of technological aids like GPS devices and cell phones.
In this article, we’ll show you how triangulating your position is done while you’re out in the field.
Do
- Make a couple of practice runs with a GPS to determine whether you are ready to go without one
- Study your map carefully before setting out on a hike
- Repeat the “take a bearing ” step if your triangulations are vague
- If you get lost, stop and call for help
Don’t
- If you haven’t gotten the hang of triangulation, never set out on a hike without a GPS or a more experienced hiker
- Never forget to adjust for magnetic declination and to orient your map
How to Triangulate Your Position
Triangulating your position is relatively easy. It mainly requires a good pair of eyes, a reliable map, a trusty compass, and basic arithmetic. Once you master it, you’ll never even want to use a GPS again.
Step 1: Prepare your Map and Compass
The first step is to prepare the tools needed to perform triangulation. Here are three things to remember before you proceed:
- Make sure that you have correctly adjusted your compass for your area’s magnetic declination
- Remember to orient your map so north on the map is aligned with True North.
- Practice taking bearings from the field in easier terrain to hone your skills
ProTip: If possible, always bring the most up-to-date map with you as it will reflect physical changes in the terrain and (in most cases) include the current magnetic declination for the area.
Step 2: Find Physical Features in the Field
Once you have prepared your tools, locate a spot that provides a good view of your surroundings, especially prominent features and landmarks in the terrain.
What you need to look for are two prominent features that are also reflected in your map. These could be mountain peaks, buildings, roads, rivers, lakes, ponds, cliffs, etc. If there are none, you could also use steep points reflected by tight contour lines or even vegetation and trees.
ProTip: If you can see one, an obviously long landmark like a road, river, trail, or a ridge, a single landmark will do the job to find your position. Simply take the bearing from that landmark and draw a line towards the longer landmark. The spot where the bearing line and the landmark intersects is your current location.
Step 3: Taking Your Bearings
Once you have found a couple of landmarks or features within the terrain, you can then begin to take the bearings from each one.
Here’s how you do it:
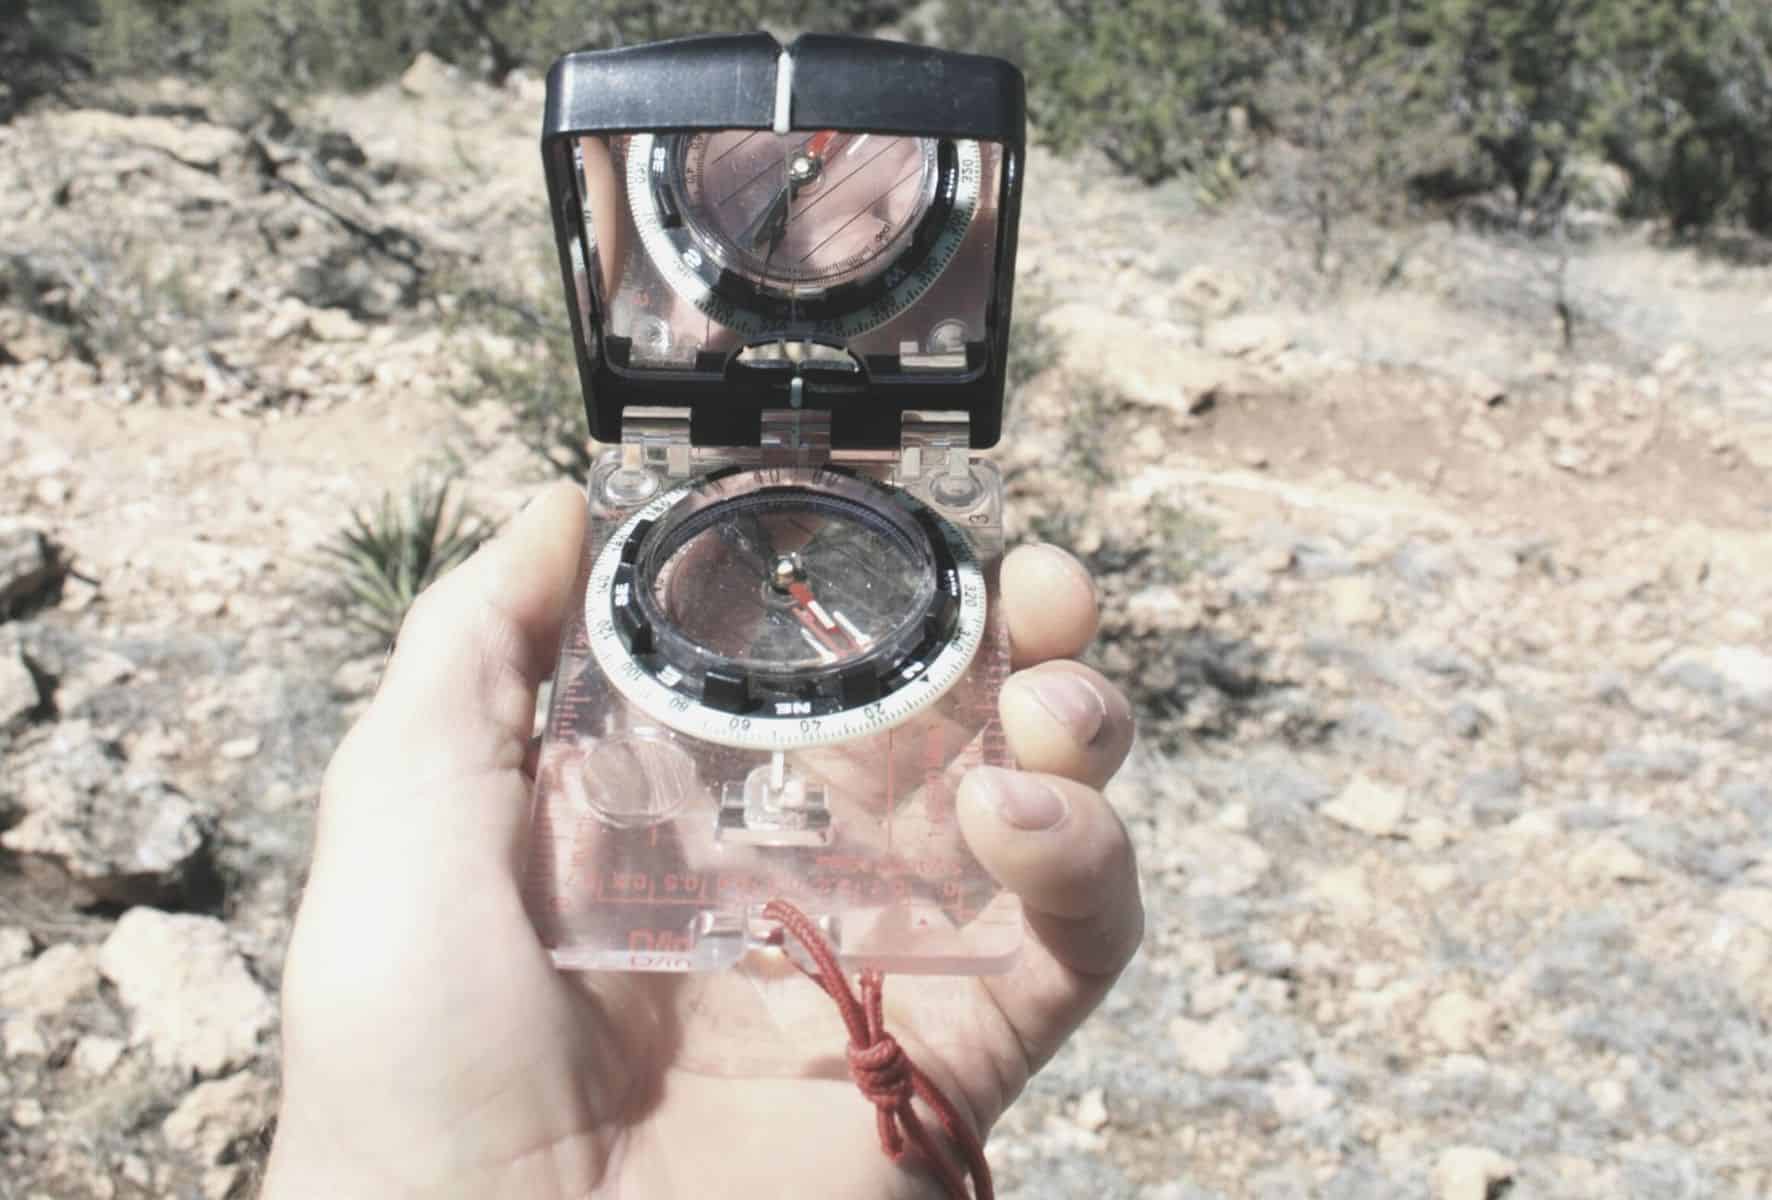
- Hold the compass in front of your body and point the direction of travel arrow directly to the landmark.
- Next, turn the compass dial until you see the “Red is in the Shed.” This means that the magnetic needle lines up with the orienting arrow (not the travel arrow).
- Then, set your compass on the map while making sure that the orienting lines are parallel to the latitude (grid) lines on your map.
- Finally, move your compass while keeping the orienting lines aligned to the meridian lines and do so until the top corner of the baseplate is directly on top of the landmark.
- Draw a line along this bearing from the landmark on your map.
- Repeat the process on the next landmark.
- The point where the two lines intersect is your approximate location
Pro Tip: If you are unsure, you can always take a third bearing from a third feature or landmark. If you’ve done your compass work accurately, then you should be inside the triangle intersection on your map. Now, you have triangulated your location successfully!
Never Lose Your Way Again!
Congratulations! You have now learned the basics of triangulation! With a little practice, you can now hit the trail confident that you’ll always be able to find your location without the use of hi-tech devices.
So how did you enjoy reading our article? If you have any comments, questions, or tricks and tips that we might have missed, please feel free to leave a comment in the box below.