Navigating without a map is a real pain. A pain that many of us—the author included—have endured at some point in our hiking careers.
If you suffered a similar lapse of memory or thoroughness when packing for your hike, would you be able to navigate to safety?
If the answer is “no”, never fear—we’re here to help you with a short, simple guide on how to use a compass without a map.
Know how to navigate without a map?
- How to count your paces
- How to take a sight bearing without a map
- Use timing to measure distance
Dos
- Determine your pace count ahead of time
- Select an obvious landmark to take bearings
- Take repeated visual bearings
Don’ts
- Forget your pace count
- Panic and walk too fast
Map-Free Navigation: How to Use a Compass Without a Map
Navigating without a map requires using two easy-to-learn, stand-alone skills that can, when combined, allow you to find your way to safety or where you need to go. These skills are pacing and sighting a bearing.
Know Your Pace Count
Your “pace” refers to the natural length of your strides on level ground. Counting your strides, or “pacing”, determines how many steps it takes to cover a certain distance. This gives you an accurate means of keeping track of the distance you’ve walked and, using your watch, how long it takes you to walk it.
Knowing these has two benefits.
First, it allows you to navigate more safely in poor visibility if you know how far you have to travel between locations.
Secondly, it’s also very useful if you plan on an out-and-back hike. By taking bearings and pacing on the way out, you can use the opposite bearings with way-out pace tallies to find your way back to your starting point. This technique is also known as “mapless dead reckoning.”
How to Calculate Your Pace
There are multiple ways to calculate your pace. Here’s the easiest:
Measure out a stretch of flat terrain that’s 100 meters long.
As naturally as you can, walk from the starting point to the 100-meter mark, timing yourself as you go.
A “pace” consists of two steps, so only count every time your right foot touches the ground. When you reach your destination, note how many paces you’ve taken. Now reset your count to zero, and walk back to the starting point.
Now, divide the total number of paces that you counted by 2. For example, if you have 59 paces on your way forward and 61 on your way back, dividing your total of 120 by 2 gives you 60. This means it takes you 60 paces to cover 100 meters on flat ground.
Now, repeat this exercise on inclines and declines of different gradients (5, 10, 15 degrees, etc.) for measurements that will provide more accuracy out in the field.
Measuring Distance by Time Alone
By timing how long it takes you to walk 100 meters, you can also use time alone to measure the distances you will travel or have already traveled.
For example, if it takes you one minute to walk 100 meters, you know that it will take you ten minutes to walk a kilometer in similar terrain.
Taking a Visual Bearing
Without a map, you’ll have to rely on landmarks to navigate. Since you can’t triangulate your position, this means using your compass to follow a straight line towards the object you’ve sighted.
Start by holding the compass steady. Point the direction-of-travel arrow to a prominent object in the area. Aim for an isolated tree, cliff, boulder, or any other distinctive landmark.
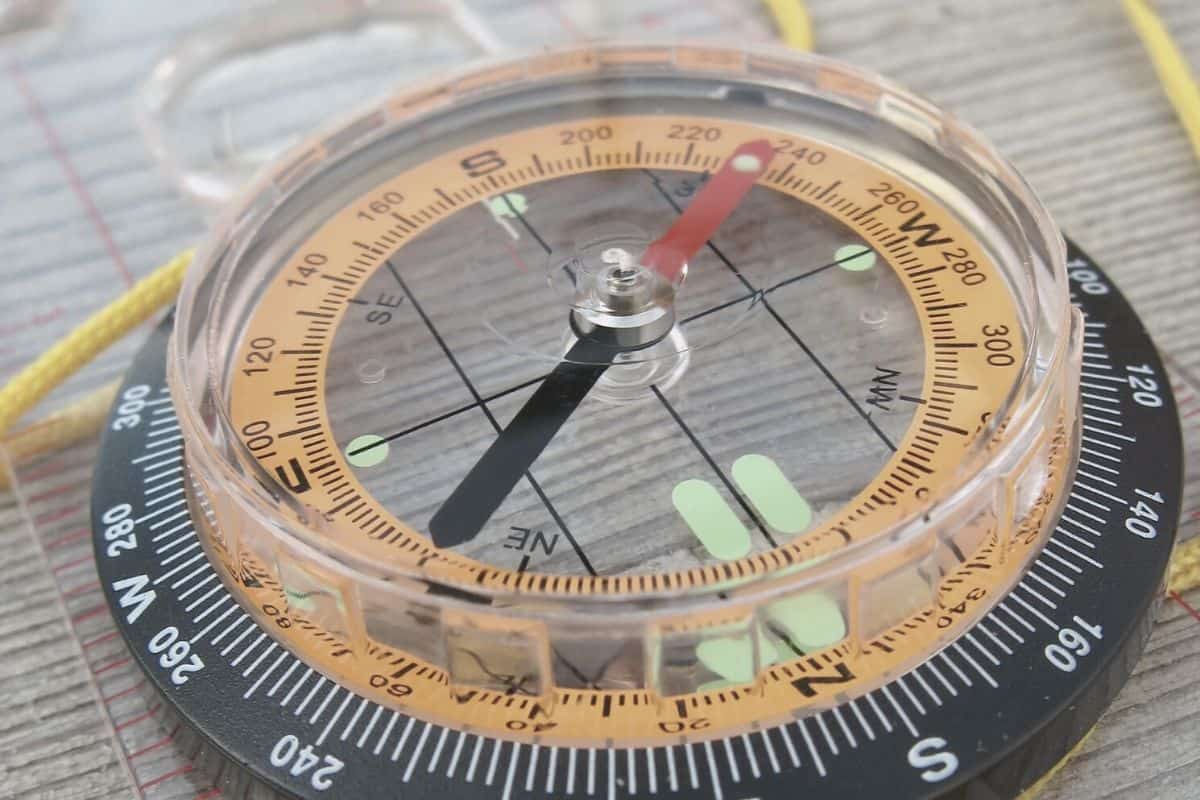
Next, turn the bezel until the orienting arrow captures the magnetic needle and read the bearing underneath the index line.
This bearing is the direction in which you need to travel to reach your landmark. While walking towards the landmark, make sure your “red” (needle) stays in the “shed” (orienting arrow) and stop and repeat this process often to ensure you’re still heading in the right direction.
Use Compass Bearings and Pace Count Together!
The ultimate goal of pacing and taking mapless bearings is to make it easier for you to return to a specific point.
By using a combo of steps counted and bearings taken, you’ll be able to confidently navigate from A to B and back to A again.
Before putting your new skills to the test, however, take some time to practice pacing and compass reading in a familiar area. And when you do head to the wilds, remember to always bring a map and/or a GPS with you. This skill will help on those rare occasions when you forget your map, but shouldn’t be relied upon as a go-to navigational MO.
Did you like our guide on mapless navigation? If you have any questions or comments, “holla” in the comments box below. And if you’d like to share this post with your friends, please do so!