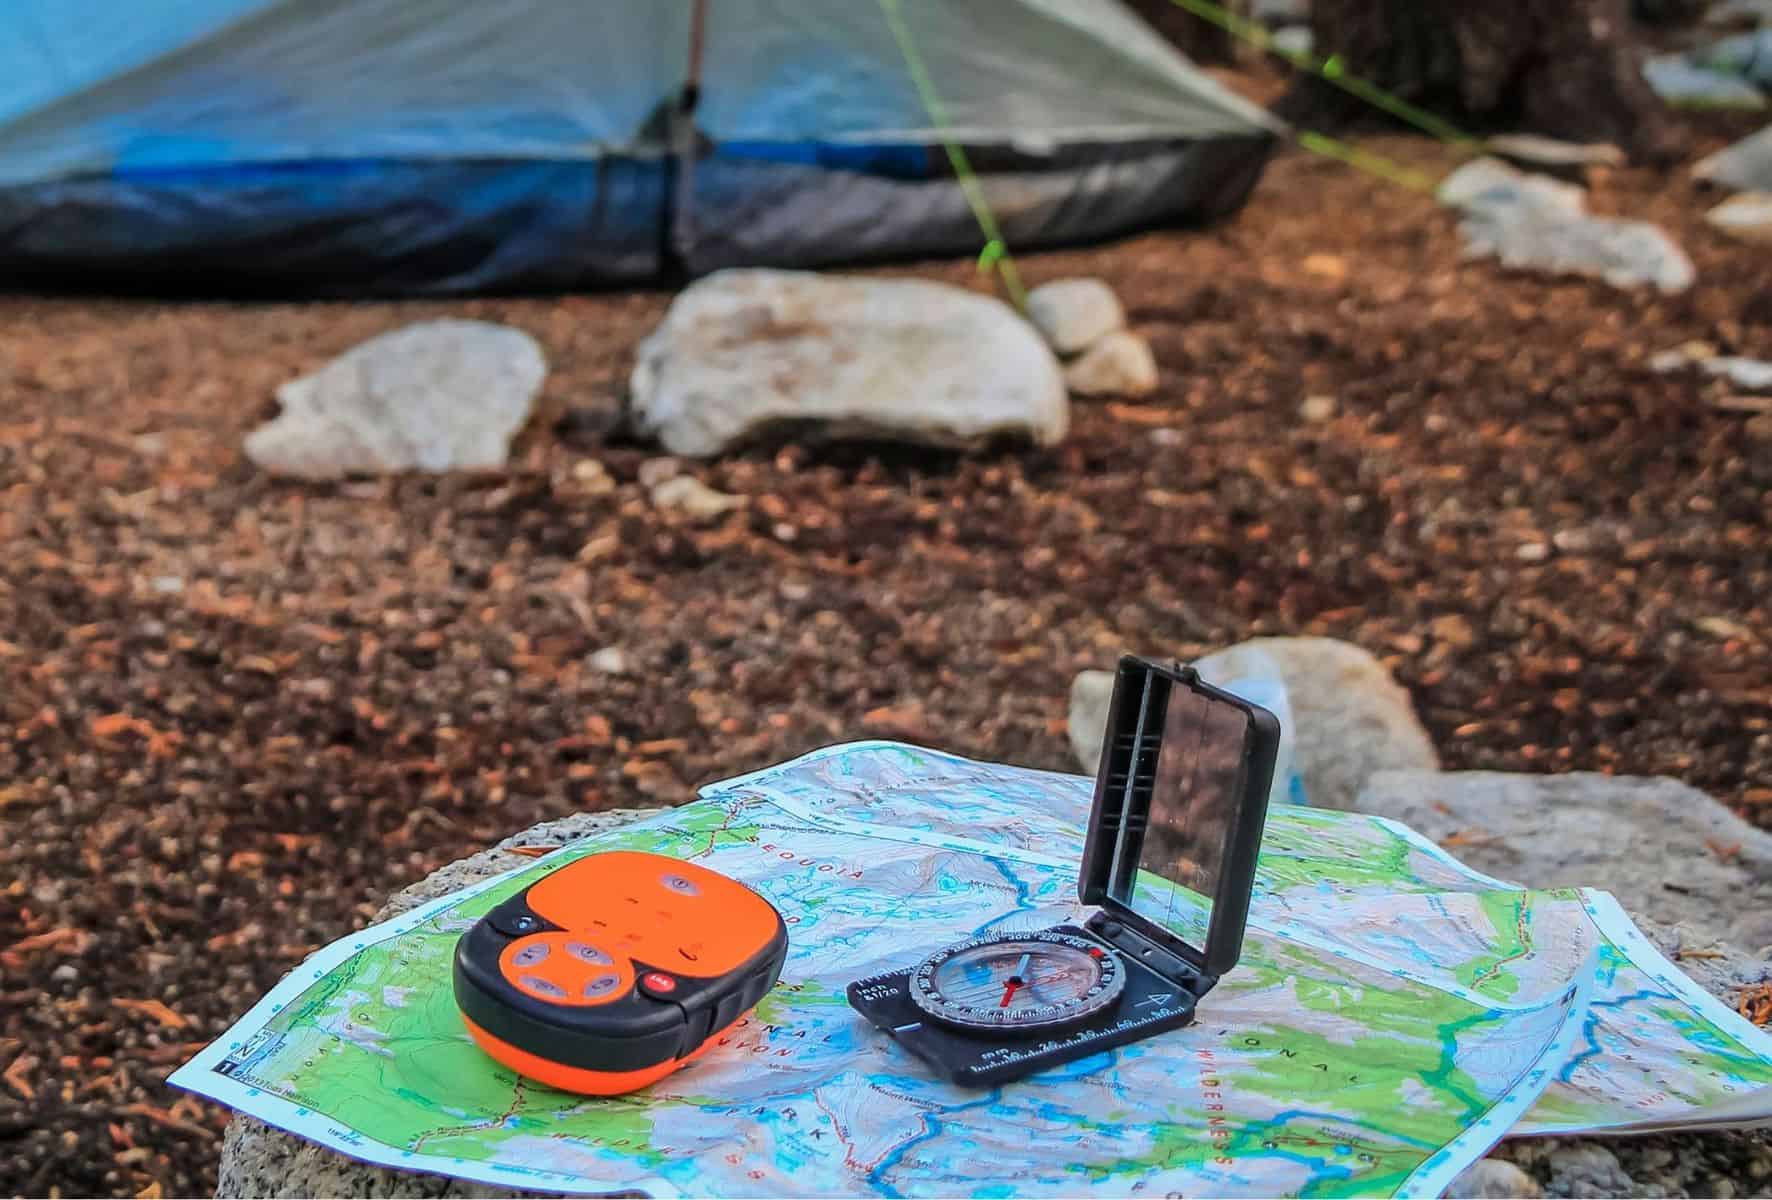
Using a Map and Compass Correctly
Want to learn how to read a map and use a compass?
You’re in the right place! In this guide, we will be covering the following:
- Know how to use a map and a compass
- Know how to find your way without a GPS device
- Learn the basics of navigation terminology and map symbols
These days, most of us are lucky enough to have cell phone apps and GPS devices that help us get to where we need to go. But if you found yourself out in the wild without a phone signal or a malfunctioning navigation device, would you be able to navigate safely with a map and compass alone?
Having electronic tools at your disposal is never a bad thing, but relying on these alone could easily land us in trouble. Batteries die, after all. Liquid damage is a real threat. And cell coverage is notoriously spotty in the vast majority of hiking areas.
In such scenarios, knowing the fundamentals of navigating with a map and compass could well make the difference between an easy-breezy hiking trip and one that goes seriously south.
In this article, we aim to help you stay on the easy-breezy side of things with a simple guide to the fundamentals of using a map and a compass.
Do
- Make sure that you have an updated and reliable map and compass before heading off
- Take advice from someone with experience in using a map and a compass
- Go on a trial run in areas you are familiar with to avoid getting lost
- Use the most up-to-date map you can find
- Use a compass with bearing markings
Don’t
- Don’t go on a trip without in-depth knowledge of using a map and compass
- Never go on a trip without plotting your route beforehand
- Rely on one method only—bring backup navigational tools just in case
Compass Basics
Let’s start with a little bit of trivia…
Did you know that the compass is one of the “Four Great Inventions” of Ancient China? Early compasses from Ancient China were made using “lodestone”, a natural magnet that aligns itself with the Earth’s magnetic field. It was originally used as a device for divination, geomancy, and fortune-telling before being used for navigation.
Fast forward a few (!) years and the compass was elevated to the loftier (in our humble opinion) use of helping hikers, campers, and mountaineers navigate safely and accurately in backcountry terrain. It is now considered one of the “Ten Essentials of Hiking” and ranks, to our mind, as number one on that list.
While there are many types of compass, every one of them works on the same principle. At its core, a compass is simply a device with a magnetic needle that aligns with the earth’s magnetic field, thus pointing towards north.
But why do compass needles act this way?
Think of it this way: the Earth is like a giant magnet. And magnets each have two poles: a North magnetic pole and a South magnetic Pole. A compass needle will align itself with the earth’s magnetic field and will orientate itself so it points to the magnetic North pole.
Compass Terminology
When learning the ropes of how to use a compass, it’s easy to get lost in all the technical jargon. Here are some simple definitions of compass terminologies to help you find your way.
- Scales and Rulers – These are usually found on the edge of the compass baseplate. They are used to help gauge distances on a map.
- Orienting Arrow – The orienting arrow is a hollow outline in the housing bezel that’s shaped to fit the magnetized needle of the compass.
- Magnetic Needle – This is what makes a compass a compass. It is a magnetized piece of metal that pivots in the middle of the compass housing.
- Housing – The housing is the liquid-filled capsule which envelops the magnetized needle. The liquid stabilizes the needle’s movements, allowing for a more accurate reading.
- Rotating Bezel – This is the part of the housing that is marked with increments in degrees. When the dial is turned, the orienting arrow, printing lines, and magnetic declination scale also turn with the housing.
- Declination Scale – The declination scale is used to mark the difference between magnetic north and true north. It is marked using degrees. Advanced versions of compasses typically have declination adjusters that can be tweaked by turning a key on the back of the compass baseplate.
- Index Line and Bearing Marker – Also known as the “index pointer”, this is the line at the top edge of the housing and base of the direction of travel arrow. This is where you read your bearings.
- Base Plate – The base plate is the platform for the housing and contains the scales, direction of travel arrow, and index line.
- Orienting Lines – These are lines found on the bottom of the housing, either side of the orienting arrow. The orienting lines rotate with the housing and the orienting arrow.
- Direction-of-Travel Arrow – This is the prominent arrow found on the baseplate. It points toward the way you should travel (hence, “direction-of-travel arrow”!) when on the move after making adjustments.
Taking a Bearing
To take a bearing simply means finding a direction relative to your current location. In more technical terms, a bearing is a measurement of the angle between north and a line drawn between two given points, given in degrees.
Bearings generally have two formats: the azimuth and the quadrant.
An azimuth bearing utilizes the full 360° of a compass starting with 0° (i.e. north) and proceeds clockwise (typically in 1-degree increments) all the way to 360°. As such, east will be 90°, south will be 180°, and west will be at 270°.
On the other hand, with quadrant bearings, the compass is divided into four sections of 90° each. The quadrants in the upper half of the compass are labeled from 0° to 90 ° starting from the north (east goes clockwise, while west goes counterclockwise). In the lower half of the sphere, the quadrants are numbered starting from the south (this time, east goes counterclockwise while west goes counterclockwise).
Azimuth bearings are given in number format (60° to indicate a location heading northeast) while quadrant bearings are given with S or N first, followed by the number of degrees, and the direction away from north or south. (N41°E to indicate roughly northeast, or S45°W to indicate southwest).
To sum up, a bearing is just a more accurate way of giving or gauging direction than a more general and vague “go west/north/southeast/etc.!”
Learning to Read a Map
Maps and compasses work hand-in-hand. Knowing how to use either in isolation might be handy, but being able to navigate accurately and effectively requires being able to use both in unison.
For hikers, the go-to map on any outing should be a topographical or “topo” map.
Atopographic map presents the world’s three-dimensional features in a two-dimensional illustration. It presents both man-made buildings and infrastructures and natural features such as hills, mountains, vegetations, and water features.
Important Parts of the Map
There are five important elements found on any “topo” map: the map title, the contour lines, the legend, the scale, and the compass rose.
These five items provide the information you need to help you navigate:
Title
This describes the area covered and the map type.
Contour lines
Contours are lines on the map that show the shape and elevation of the terrain. These help you visualize the terrain and gauge how difficult any trail may be. Every fifth contour line is called an index line. These are usually slightly thicker or bolder and include an elevation value in numerals.
Legend
The map legend is a guide that tells you how to understand the different signs and symbols used to depict physical objects on the map. It also holds key information such as the source data or where and when it was made, the magnetic declination, the contour interval, and the color key. This is usually found in the bottom corner of the map.
Scale
The scale is the relationship of real-life distance to distances represented on the map. It is usually found in the map legend (and on the cover) and shows the ratio of map inches or centimeters into real-life inches or centimeters.
For example, a 1:24,000 scale in inches means that 1 inch on the map equals 24,000 inches (or just over a 1/3rd of a mile) in reality. The scale also reveals how detailed your map is—a map with a 1:12,000 scale will represent a smaller area and will provide more detail than a map with a scale of 1:24,000.
Compass Rose
The compass rose is a figure used to denote Grid North, Magnetic North, and True North on your map. The compass rose on a better map will also show the declination difference in degrees between these three “norths”.
How to Read Contours & Map Symbols
One feature that makes a topographic map distinct from other types of map is its use of contour lines. Thanks to this feature, just a quick glance should be enough to give you an impression of the landscape and whether it’s flatter or more mountainous, steep terrain.
Each contour line represents a uniform point of elevation above sea level. Changes in elevation are represented by variations in the line spacing. In other words, several contour lines close together indicate steep terrain, while those that are further apart indicate a gentler slope.
A map uses 3 kinds of contour lines: the index, the intermediate, and the supplementary.
- Index lines are the thickest of the three. They are usually labeled with a number at some point and typically represent 100ft to 200ft (or 100m to 200m) increments.
- Intermediate lines are the thinner type found in between index lines. Unlike index lines, they do not have a numerical value. Typical maps have one index line after every fifth intermediate line, so in most popular hiking maps these indicate 20ft/40ft or 20m/40m intervals, depending on the scale*.
- Supplementary lines typically appear as continuous dots on the map and indicate flatter terrain.
*On a 1:24000 USGS topo map, each contour line represents a 40-foot variation in elevation.
Warning! The above serves only as a basic intro to the reading contour lines. There are many patterns, shapes, and figures that occur in topographical maps that indicate a variety of features and hazards in the terrain ahead.
Before attempting to navigate by contours alone, make sure you put in a little time studying these features on your maps and then look out for them during hikes on safer, waymarked trails.
The legend in your map will also contain a number of symbols used to indicate features or features you may have to avoid or navigate around.
Land Navigation Basics: How to Use a Map and Compass
Hopefully, you now have a good understanding of the nuts and bolts of map and compass terminology. Why? Because in the next section, we’ll finally get down to the nitty-gritty of how to use a map and compass out in the field.
So what are we waiting for? Let’s get to it!
Plotting a Course
Before setting off on a hike, it’s always wise to plot your course first. Here’s how you can do it:
- Determine your starting location and your destination.
- Establish a series of waypoints between the start and endpoints. Obvious terrain features (trailheads, river crossings, peaks, etc.) make the best waypoints, and they should be selected so as to give yourself as direct and trouble-free a path as possible between each pair of points. Where possible, use marked trails. If heading off-trail, use the contour lines to gauge what type (and gradient!) of terrain you’ll be crossing.
- Determine the distance of your route by using your compass ruler, and measuring the distances between all the waypoints to your final destination.
- Consider your pace count and estimate your arrival time.
- Finally, leave a note of your intended route with (a reliable) someone back home—it’ll come in mightily handy for the rescue services should your trip go seriously south!
Orienting Your Map
Before setting out and taking a bearing, you must first orient your map correctly. Here’s how it’s done:
- Before you start, make sure you have adjusted your compass for local magnetic declination so you are taking readings for True North as opposed to Magnetic North.
- Rotate the bezel so that the N (“north”) is perfectly lined up with the direction of travel arrow.
- Place your compass on your map so that the black orienting lines are aligned with the north-south grid lines.
- Hold the compass and your map while rotating your body until the magnetic needle is inside the outline of the orienting arrow. This is called “boxing” the compass needle or, alternatively, putting “the red in the shed”.
If you’ve orientated the map correctly, you should now be able to easily match features on the map with landmarks in the terrain in front of you.
Taking a Bearing
To take a bearing, follow the steps below:
- First, identify a distant object in the surrounding terrain.
- Hold the compass away from your body while pointing the direction of travel arrow directly towards the object.
- Next, put the “the red in the shed.” To do this, rotate the compass housing until the orienting arrow is directly aligned with your compass needle’s red end. Do this while keeping the compass and the direction of travel arrow steadily aimed at your target.
- Once “the red is in the shed”, you’ve taken your bearing! Have a look at compass housing and read the bearing numbers—the number directly underneath the direction of travel arrow is the bearing between your starting point and the object you have chosen.
Following a Bearing
- Locate your starting point and your planned destination point on your map. Then line the edge of the compass along the “line” connecting these two points (your direction of travel arrow will be pointing in the direction of your destination).
- Holding the edge of the compass in place, align the orienting lines to the top of your map by rotating your compass housing bezel until the orienting lines line up with the map’s the north-south grid lines.
- Read the bearing from directly below the index lines, which is found at the bottom of the direction of the travel arrow. If your compass doesn’t have a magnetic declination adjuster, then remember to take into account the magnetic variation for the area (this is usually indicated in the legend).
- To follow the bearing: hold the compass away from you and turn your body until the compass needle is boxed inside the orienting arrow (i.e. putting “red in the shed”). You’re now facing the direction of your destination!
ProTip: To stay on track, take bearings at regular intervals throughout your journey. Being off by one degree will result in a ~100 feet drift from your target destination for every mile you travel. The less frequently you orient yourself, the larger this error will become.
Triangulating Your Position
Sometimes, you will find yourself far from a linear feature such as a trail or river that can be easily identified on your map. In such circumstances, you can still locate yourself by using a process called triangulation.
To triangulate your position in the field, all you need to do is apply the steps followed when taking a bearing to a second and a third marker (landmark or feature in the terrain).
To maximize accuracy, choose markers that are at least 60° away from each other, including your first marker. Draw three lines on your map using the edge of your compass and the bearings taken from the markers in the terrain. The lines should intersect at a single point. Otherwise, they will form a small triangle and your present location, if you’ve taken accurate readings, will be somewhere very near or inside that area.
Warning: If your three lines form one giant triangle, you might want to recheck your work!!!
Conclusion
So, are you ready to hit the wilds and try out your new navigational smarts? Great! By familiarizing yourself with the information included in this guide and putting in a little bit of practice, you’ll soon be navigating like a pro, down will the lingo, and good to go just about anywhere you might plan on going on future adventures.
How did you enjoy reading the article? Are there any things that you might want to learn more about? If yes, then don’t hesitate to let us know in the comments box below and we’ll get back to you with an answer asap!