
How to Use Hammock Straps
Looking to learn how to hang your hammock correctly?
You’re in the right place! In this guide, we will be covering the following:
- Learn how to attach your tree straps securely and responsibly
- Understand the workings of different types of hammock strap suspension system
- Practice pitching with our step-by-step guide to hammock strap usage
- Know how to choose and create a safe pitch for your hammock
Learning how to use hammock straps safely, responsibly, and effectively is the single most significant step on the way to becoming a hammock-camping hotshot. Below, we’ll show you how it’s done with a detailed, step-by-step guide that will demonstrate how to use various types of strap for different setup configurations and different situations. By the time we’re done, you’ll be able to get your “hang” on just about anywhere!
What you will need to follow this tutorial
To follow this tutorial, you will need the following:
- A hammock or hammock tent
- Hammock suspension straps (aka “suspension system)
- Any included attachment accessories (S-hooks, carabiners, slings – in most cases, these are supplied with the hammock or straps)
- Two trees over six inches in diameter or a suitable substitute*
*Note: If you’re practicing your hammock camping setup at home, a suitable substitute might take the form of fence poles, two vehicles with roof racks/bars, or any other stable feature which can bear the weight of your hammock once you’re inside it. If none of the above are available, we recommend heading down to the local park and finding a pair of sturdy trees.
Different Types of Hammock Straps
Hammock straps (aka “hammock tree straps” or “suspension system” or simply “tree straps”) can be bundled into one of two categories, each of which varies significantly from the other in terms of convenience and ease of use: daisy chain hammock straps and standard hammock tree straps.
Further reading: if you need a hand deciding which tree straps to buy, then check our guide to the best hammock tree straps.
While both types of strap usually need to be purchased separately, most sellers will typically offer a bundle deal that points buyers in the direction of one style. However, the best option in 99% of situations are daisy-chain hammock straps, which are generally more convenient, easier to use, and simplify tweaking your setup once you’ve suspended your straps to your trees.
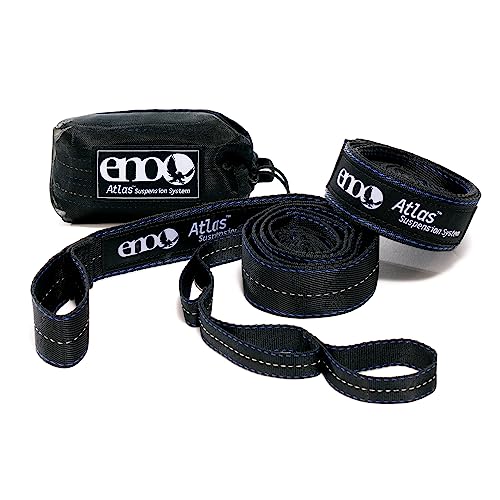
Daisy-chain straps
These webbed straps typically feature a series of 5-10 reinforced loops measuring 3-5 inches. Because each of these loops can be used to attach the carabiner or S-hook on your hammock to the strap, they provide far more versatility and make it very easy to adjust the tension in your setup to the desired level. If your hammock’s hanging too low, you simply shift the carabiner/S-hook back a loop. If it’s too high, shift it down a loop. Simple!
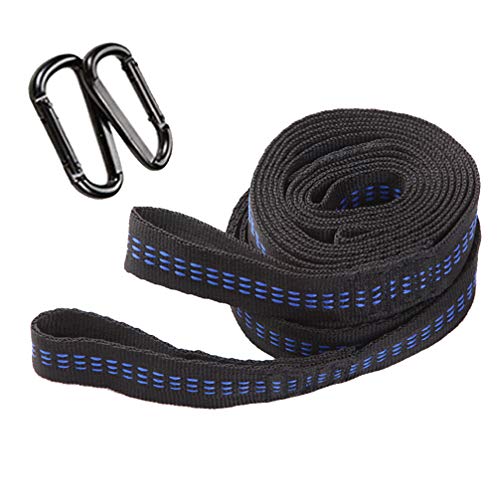
Standard straps
These straps commonly feature a single loop in one end and either a fixed hook/carabiner or a second, single loop on the other end. The strap is passed around the tree, and the carabiner/hook end fed through the loop in the other end, then the carabiner/hook is attached to the hammock.
While just as easy to use when the trees used for anchoring are the perfect distance apart, if they aren’t, you’re going to have a saggy or excessively taut hammock, neither of which is particularly comfortable.
One way to get around this problem is to wrap the strap around the tree multiple times before passing it through the loop to take up some “slack,” but this method is often inaccurate, particularly if using a larger tree. It also takes longer to adjust the tension in the strap when you’ve got everything in place and are making final adjustments to fix your hammock at the optimal height.
Homemade straps
If you’ve already bought your hammock but not suspension straps, making a pair of DIY straps is entirely feasible. You can do this in one of two ways: by digging the ratchet straps for your car out of the garage or picking up a pair of 6 to 8-foot strips of standard, one-inch webbing straps from a hardware store.
With a ratchet strap, you can create a functional hammock suspension strap as follows:
- Wrap the buckled end of the strap around your chosen tree at head height
- Pass the free end through the buckle and pull until tight around the tree (you may want to squeeze an old cloth or even an unused t-shirt in to protect the tree from the buckle before cinching down)
- Tie a simple knot in the free end of the strap (A hangman’s knot or the overhand knot will do the trick) to create a “bight” (loop)
- Attach your bight to your hammock’s S-ring/carabiner
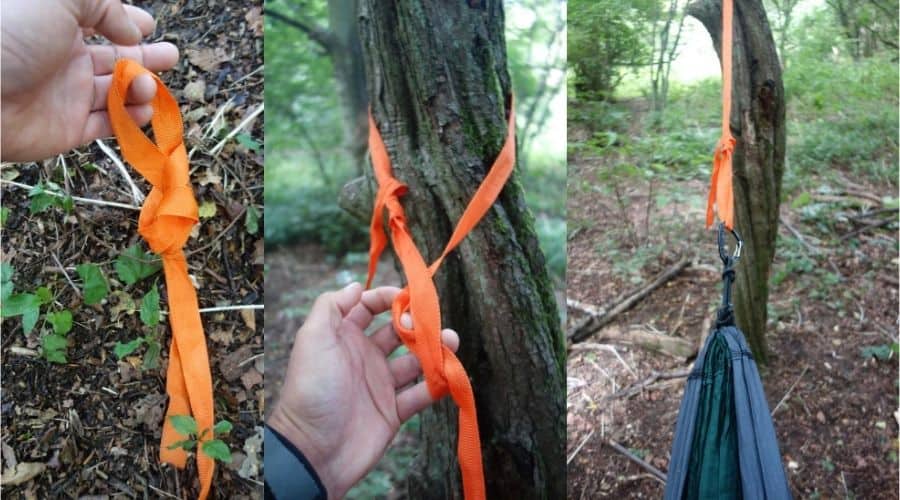
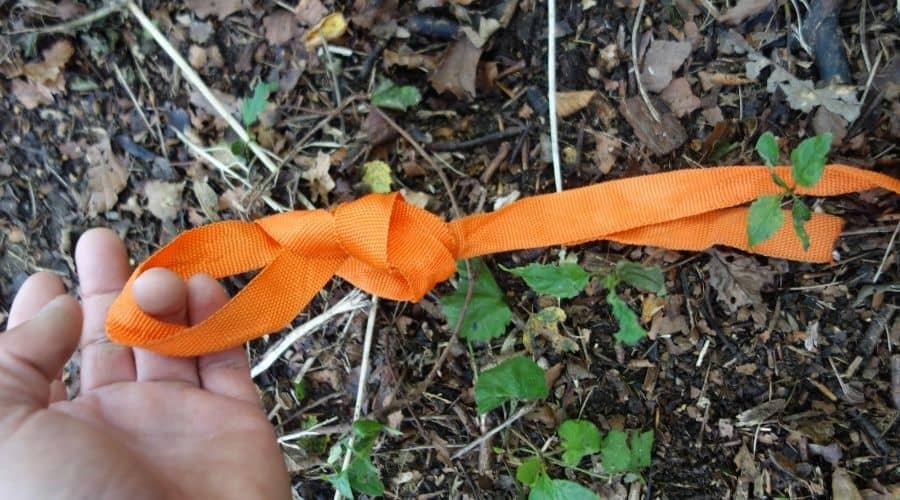
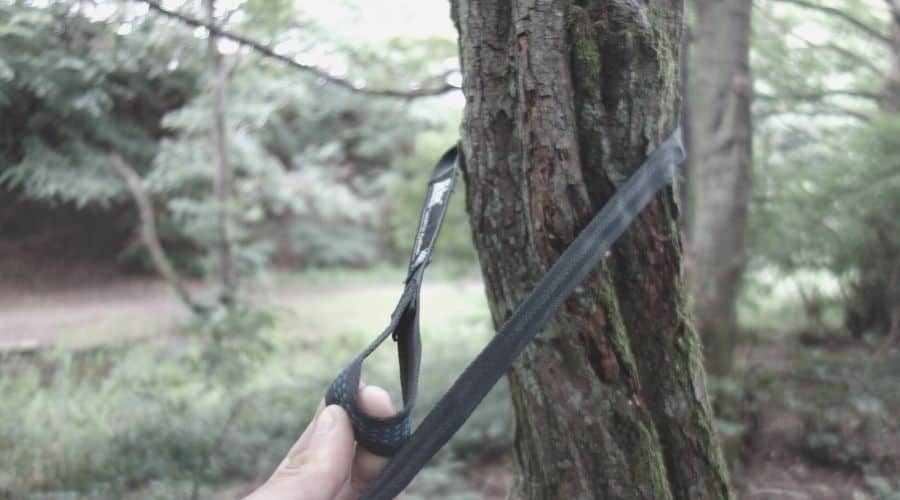
With standard webbing straps, a hammock strap can be made as follows:
- Tie a simple overhand knot or hangman’s knot in both ends of the strap, leaving a “bight” (loop) to which you’ll later attach your S-hook/carabiner
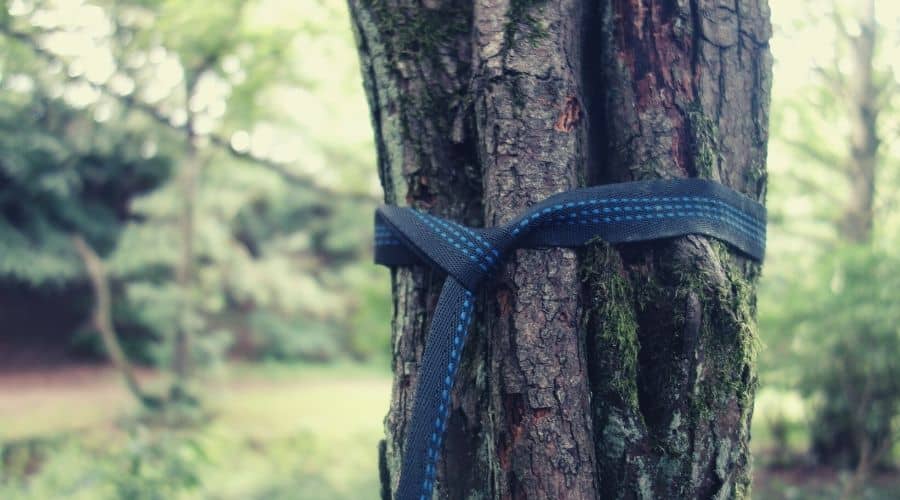
- Pass the strap around your tree
- Feed one end of the strap through the opposing loop/bight
- Pull the strap tight around the tree
- Attach the second, free loop to the S-hook/carabiner on your hammock
- If the strap is too long, you can shorten it by tying a simple overhand knot or alpine butterfly knot further up the strap and adjusting it as required
NOTE: A number of hammock strap retailers these days have used the term “eco-friendly” to describe their straps. Don’t be fooled. Unless straps are made with recycled and recyclable fabrics, the only thing that makes one strap more eco-friendly than another is its width.
Why?
Well, the thinner a strap is, the more likely it is to dig into and damage the tree once weighted. An “eco-friendly” strap is simply one that measures at least 0.75 inches in diameter (but 1.5 to 2 inches is better) or uses a protective sleeve around the contact points to prevent it from cutting into the tree.
Step-by-step instructions
To practice setting up your hammock, take the following steps:
Step 1: Assemble your gear
Grab your hammock, 2 x straps, 2 x S-hooks/carabiners

Step 2: Scout a pitch location
Find a pair of suitable trees. These should be at least 6 inches in diameter and roughly 12-15 feet apart. Also, take a good look into the canopy to ensure there are no birds’ nests or rotten branches that might collapse and land on your pitch.
Step 3: Place your straps
- Wrap your first strap around the first tree at around head height (5/6 feet from the ground)
- Thread the end of the strap that will attach to your hammock through the loop on the other end
- Pull the free end of the strap tight to keep it in place
- Repeat steps 3-5 with your second strap on the second tree
Step 4: Hang your hammock
Clip both ends of the hammock into the loops on the straps with the S-hook/carabiners
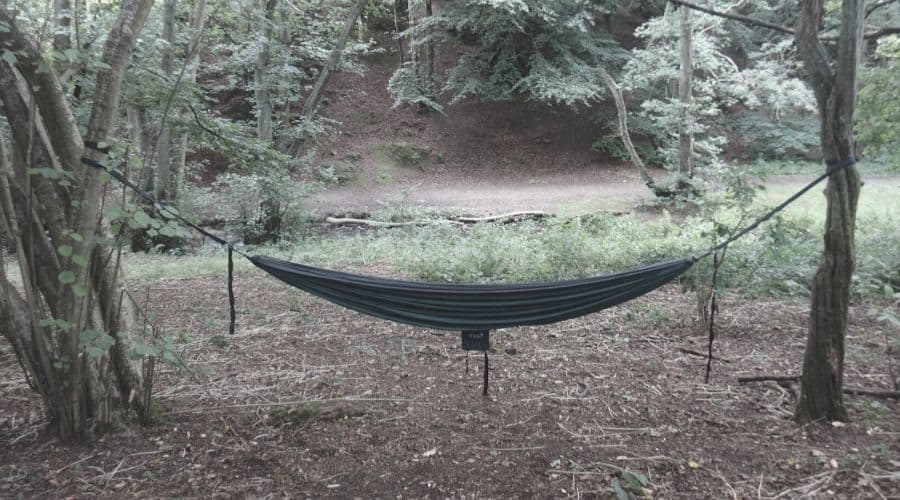
Step 5: Check your angles
Weight your hammock with a backpack or a friend (!) and check that there is roughly a 30-degree angle between the straps and the trees on the lower side (below the attachment point)
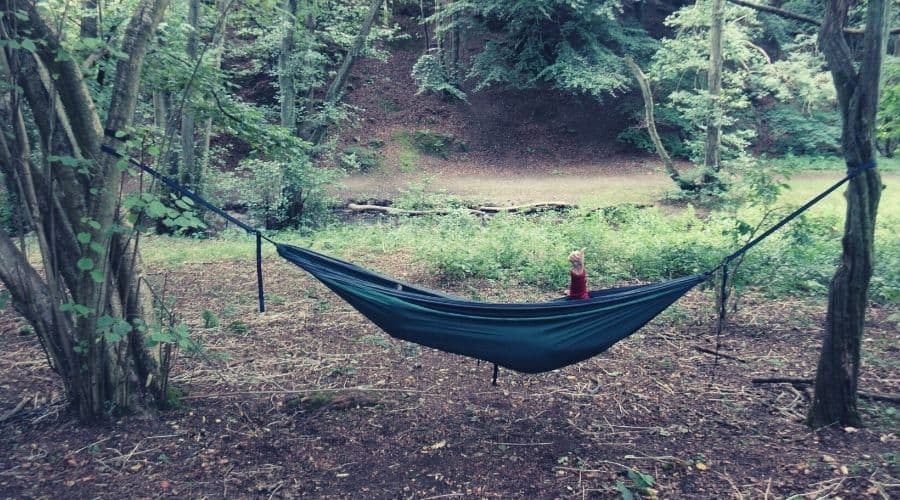
Step 6: Hop in!
Your hammock is now ready to roll! Hop on in, check, there are roughly 20 inches of clearance between the hammock and the ground, then adjust as necessary by skipping up or down a loop on the strap with the carabiner/S-hook.
A Word on Safety
A few safety measures can help ensure your hammock camping adventures don’t turn into misadventures:
- Always inspect your straps and hammock for signs of wear and tear or any other damage before pitching
- When you’ve hung your hammock, transition your weight into it incrementally to test the solidity of your anchors and gear
- Choose a pitch that places your hammock above soft grass or earth (as opposed to rocks or hard roots), so you’ll have a soft landing in the unlikely event of gear failure
- Most hammocks (and some straps) come with a maximum load capacity, which refers to the maximum weight the hammock can bear. This includes the weight of the hammocker and their gear. Be sure to buy a hammock that leaves a little leeway in terms of poundage
- Inspect your trees for the aforementioned “widow-makers” (loose or rotten branches) and check that the trees are healthy ones by giving them a shake prior to pitching

Conclusion
While using hammock straps probably seems self-explanatory, many a would-be hammock camper has gotten into a pickle come pitch time by failing to learn and practice the basics before their trip. By following the above steps, however, you’ll be ready to get your hang on safely, securely, and quickly first time round.
How did you like our tutorial? If you found it useful or have any questions, please go ahead and post these in the comments box below. And if you’d like to share it with you hammock camping friends, share away!
Last update on 2024-04-24 / Affiliate links / Images from Amazon Product Advertising API