Finding your way through the wilderness is an essential backpacking skill requiring reliable tools and knowledge of how to use them. And while getting off the beaten path is part of the reason many people hit the trail, finding the trail again is something that you eventually want to do. Plus, it’s embarrassing if the parents at home have to call the Rangers to send a search party to lead you back to the trailhead!
Using a Map
Maps are a critical navigation tool — and the best ones are not cheap. Over the years, however, most hikers have learned the hard way that using an old map gets everyone into trouble. Worse, if there are several hikers, each with our own bad map, then the potential for spending extra time hiking is enormous. So invest the money. Get a good map and study it at home, where the light is good and you can mark it up with your own notes and observations. (Tom Harrison does a great job with his California maps. Order them by clicking here.)
Trails.com and TOPO from National Geographic are good map-making tools and can help produce usable maps and trail profiles on mobile devices. Unfortunately, the software is not always easy to use and electronic rendering is often not a good substitute for a good map drawn by an expert. (Trails.com and MYTOPO online) Google Earth is another online tool that provides incredible three-dimensional pictures of the trail and surrounding area. It’s not a map, but it’s the next best thing. Serious backpackers often have a subscription to one or more of these tools.
Global Positioning Systems (GPS) are becoming standard equipment for younger backpackers. A purist will tell you that it’s not worth carrying an electronic device that weighs a pound (or less) and can run out of batteries or become useless if it loses the signal. They say that good backpacking skills can easily outshine any of these new-fangled gadgets and skills don’t take up any space in your backpack. However, the new GPS units allow you to download a map and then follow your progress along the trail by looking at the screen. Basically, you know where you are within 10-20 feet all the time – if the battery doesn’t run out and you can get a signal.
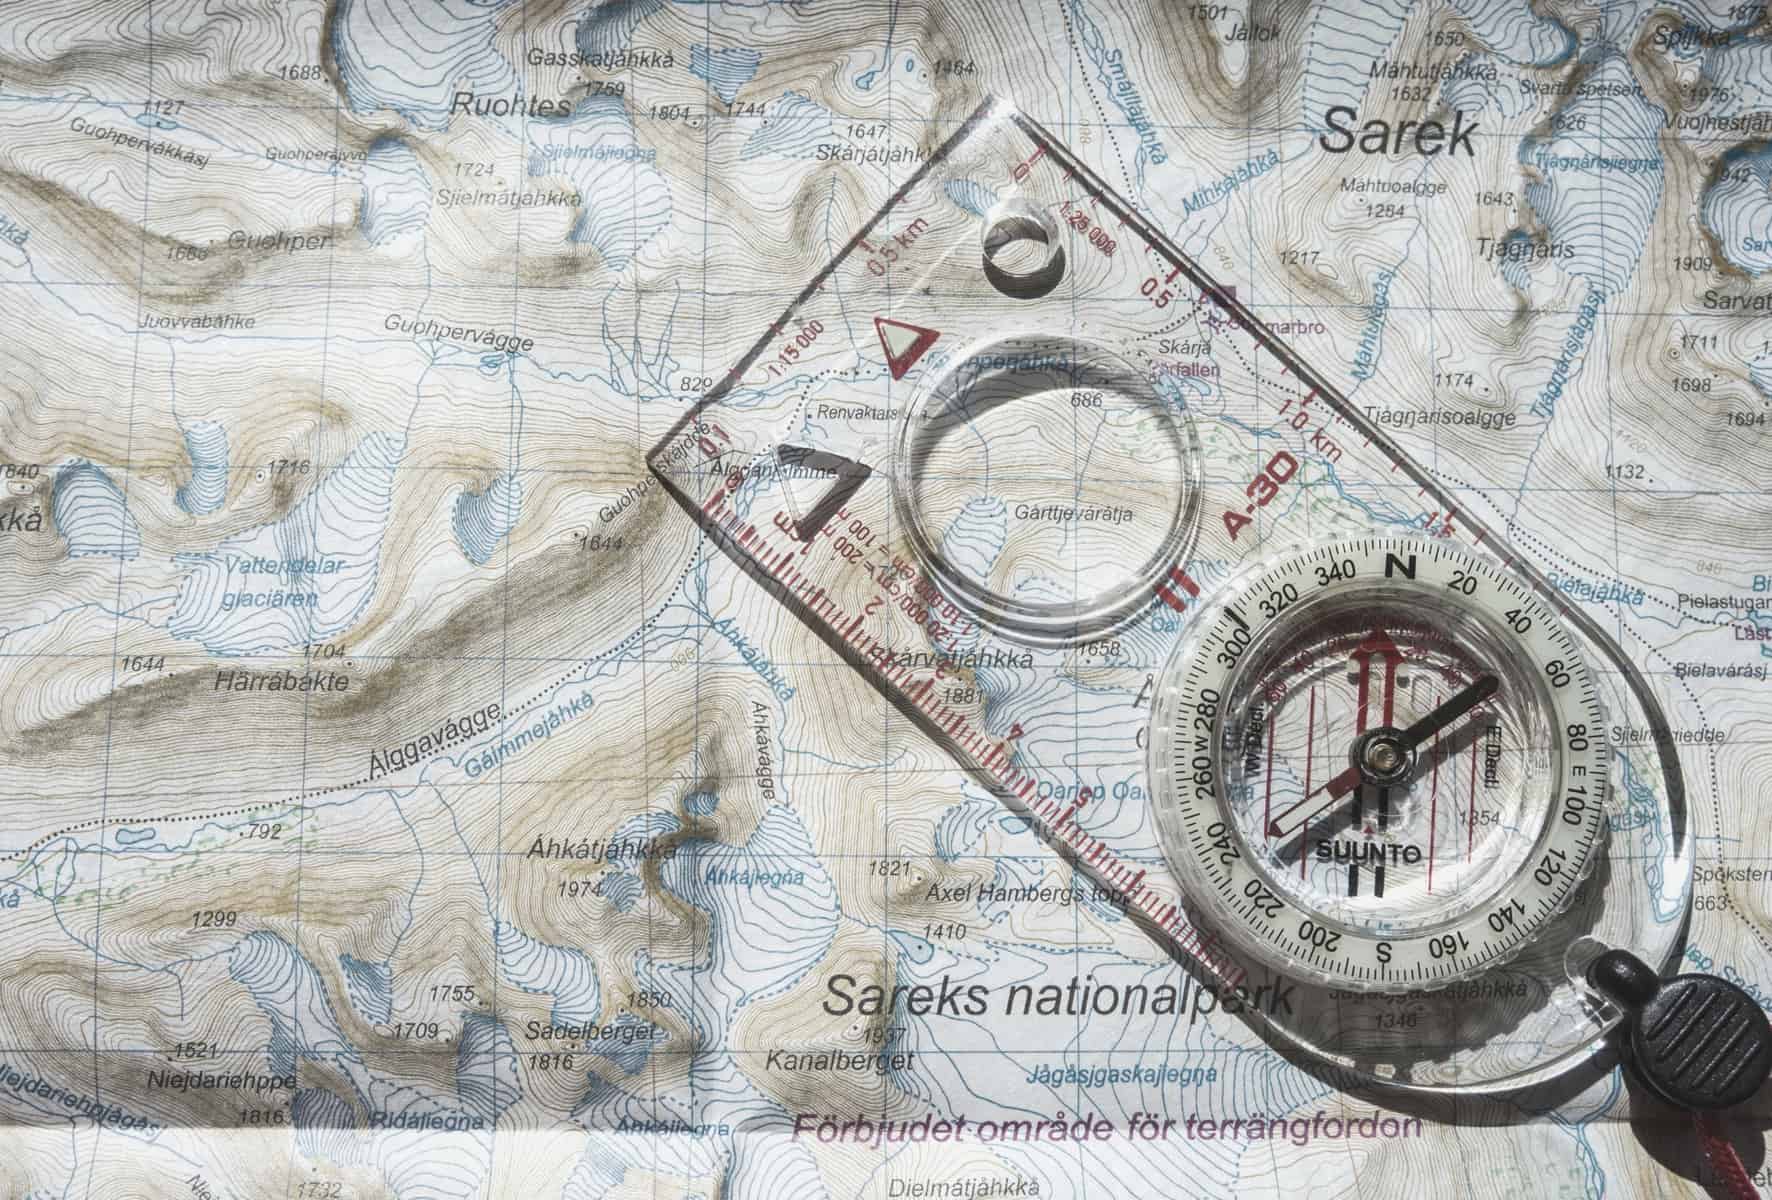
Using a Compass
Using a compass is a basic skill, taught to every 11 year old boy on his first outing. As long as the casing is not broken, the compass arrow will point to magnetic north (not true north), which allows the compass holder to orient his map and find his way. Understanding the difference between true and magnetic north is a critical backpacking skill, and can mean the difference between arriving at the pick-up point on time or forcing your drivers to wait an extra day for your group to find their way off the trail.


True North is the map direction toward the geographical North Pole. Magnetic North is the compass direction toward the magnetic North Pole. Declination is the amount in degrees that magnetic north differs from true north. This amount varies, dramatically in different parts of the world and in the U.S. In California magnetic north varies from about 14 to 18 degrees east of true north. In Maine the declination is about 20 degrees west of true north.
Maps should be scored by drawing lines indicating magnetic north – so your navigator will not get confused. Look at the map and determine the declination, which should be noted in the legend. Take a ruler and a pencil and draw lines at that angle. These lines should be about one inch apart and cover the center of the map so they can be easily used with a compass.
Compensating for Declination: For areas with an easterly declination (like the west coast), when taking a bearing of a distant object and then setting the compass down on the map, you add the declination to the bearing reading. Field to Map Add, FMA (First Man Adam). When reading a bearing on the map, then raising the compass and pointing it in the direction you want to go, you are going from Map to Field and you would subtract the bearing. In areas with a westerly declination (like the east coast) the procedure is reversed. On the east coast, think of the declination as being less than 0 degrees, or a negative number, so when going from field to map you would add a negative number.
You can eliminate the need to consider declination by drawing magnetic north lines on your map with a long straight edge. Do not simply extend the magnetic north arrow in the map margin, as this is simply a symbol and not an accurate angle measurement. Instead use your navigational compass, or a graphing compass, or to be more accurate use geometry. The tangent of an angle in a right angle triangle equals the length of the opposite leg from the angle, divided by the adjacent leg of the triangle. The tangent of 16 degrees equals 0.287. Therefore, for a declination of 16 degrees East, measure up 10 inches from the lower left corner of the map, then 2.87 inches to the right. Connect this point to the map corner and you will have drawn an accurate magnetic north. Drawing parallel lines off of this initial line, the width of the straight edge apart, completes your map preparation. You will now be able to lay your compass directly on your map, aligning it with the magnetic north lines.
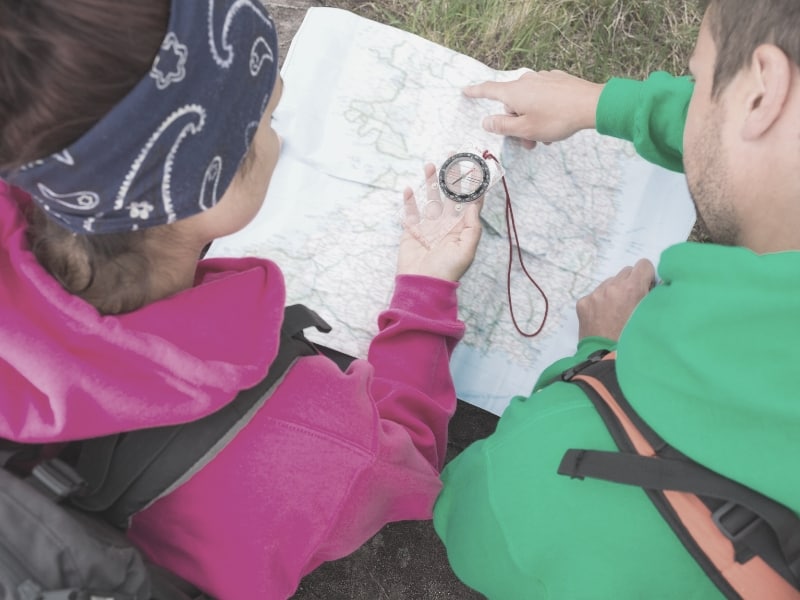
Using a Map and Compass Together
When reading a map it is most helpful to turn it in a way that it matches the natural surroundings. There are two ways to do this.
- Without a Compass: Look at the land for features such as mountain peaks, passes, lakes, trails etc. and find those symbols on the map. Turn the map until those symbols line up with the actual landscape features. Note, it is sometimes easy to “convince” yourself that certain real life features match certain map symbols, when in fact they do not.
- With a Compass: Rotate the compass housing until N (360 degrees) touches the direction of travel arrow. Place the edge of the compass alongside any magnetic north line on your map. Turn the map and compass as a unit until the compass needle lies directly over the orienteering arrow.
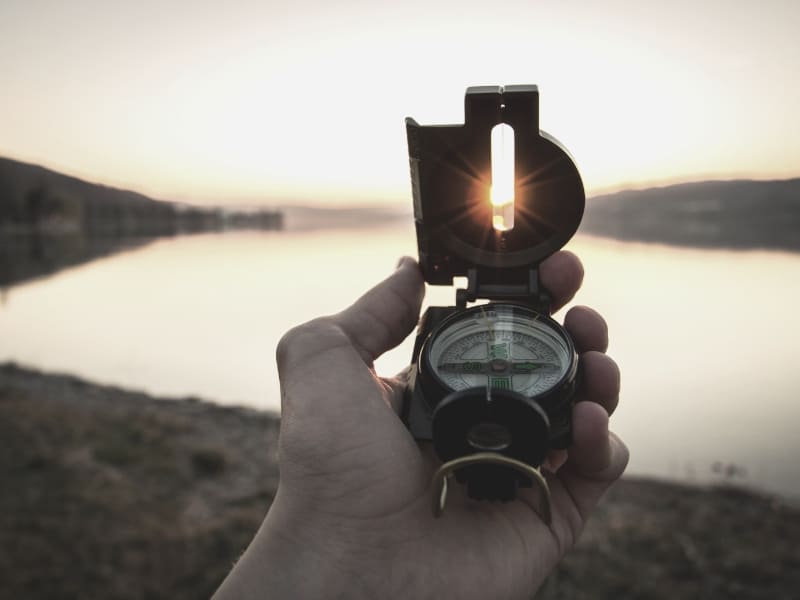
A bearing is the direction of a point relative to your position. For instance; to take a bearing of a distant landmark, hold you compass (level) with the baseplate bearing arrow pointing directly at the landmark. Then rotate the compass dial to align the zero point (N) with the red end of the compass needle. You can now move your compass to any convenient position and read the bearing angle.
Once a bearing is taken of a landmark it can be plotted on your map. Without changing the dial setting of your compass, place the compass on the map. Locate the compass dial’s grid lines so they are parallel to the magnetic north lines drawn on your map, and slide the compass up or down the magnetic north line until the baseplate of the compass intersects the landmark. Your position will be somewhere along this projected line. If you repeat the procedure for another landmark (preferably about 90 degrees apart) the resulting lines will intersect at your position. Repeating it one more time will provide a useful check. The above procedure can also be reversed if you know your position, but are curious as to the “real world” direction to a landmark shown on the map.
There is a lot more information about Navigation in the Backpacking for Boys manual.
Last update on 2024-04-26 / Affiliate links / Images from Amazon Product Advertising API