How To Stay Safe: The Ultimate Guide To Hiking Safety
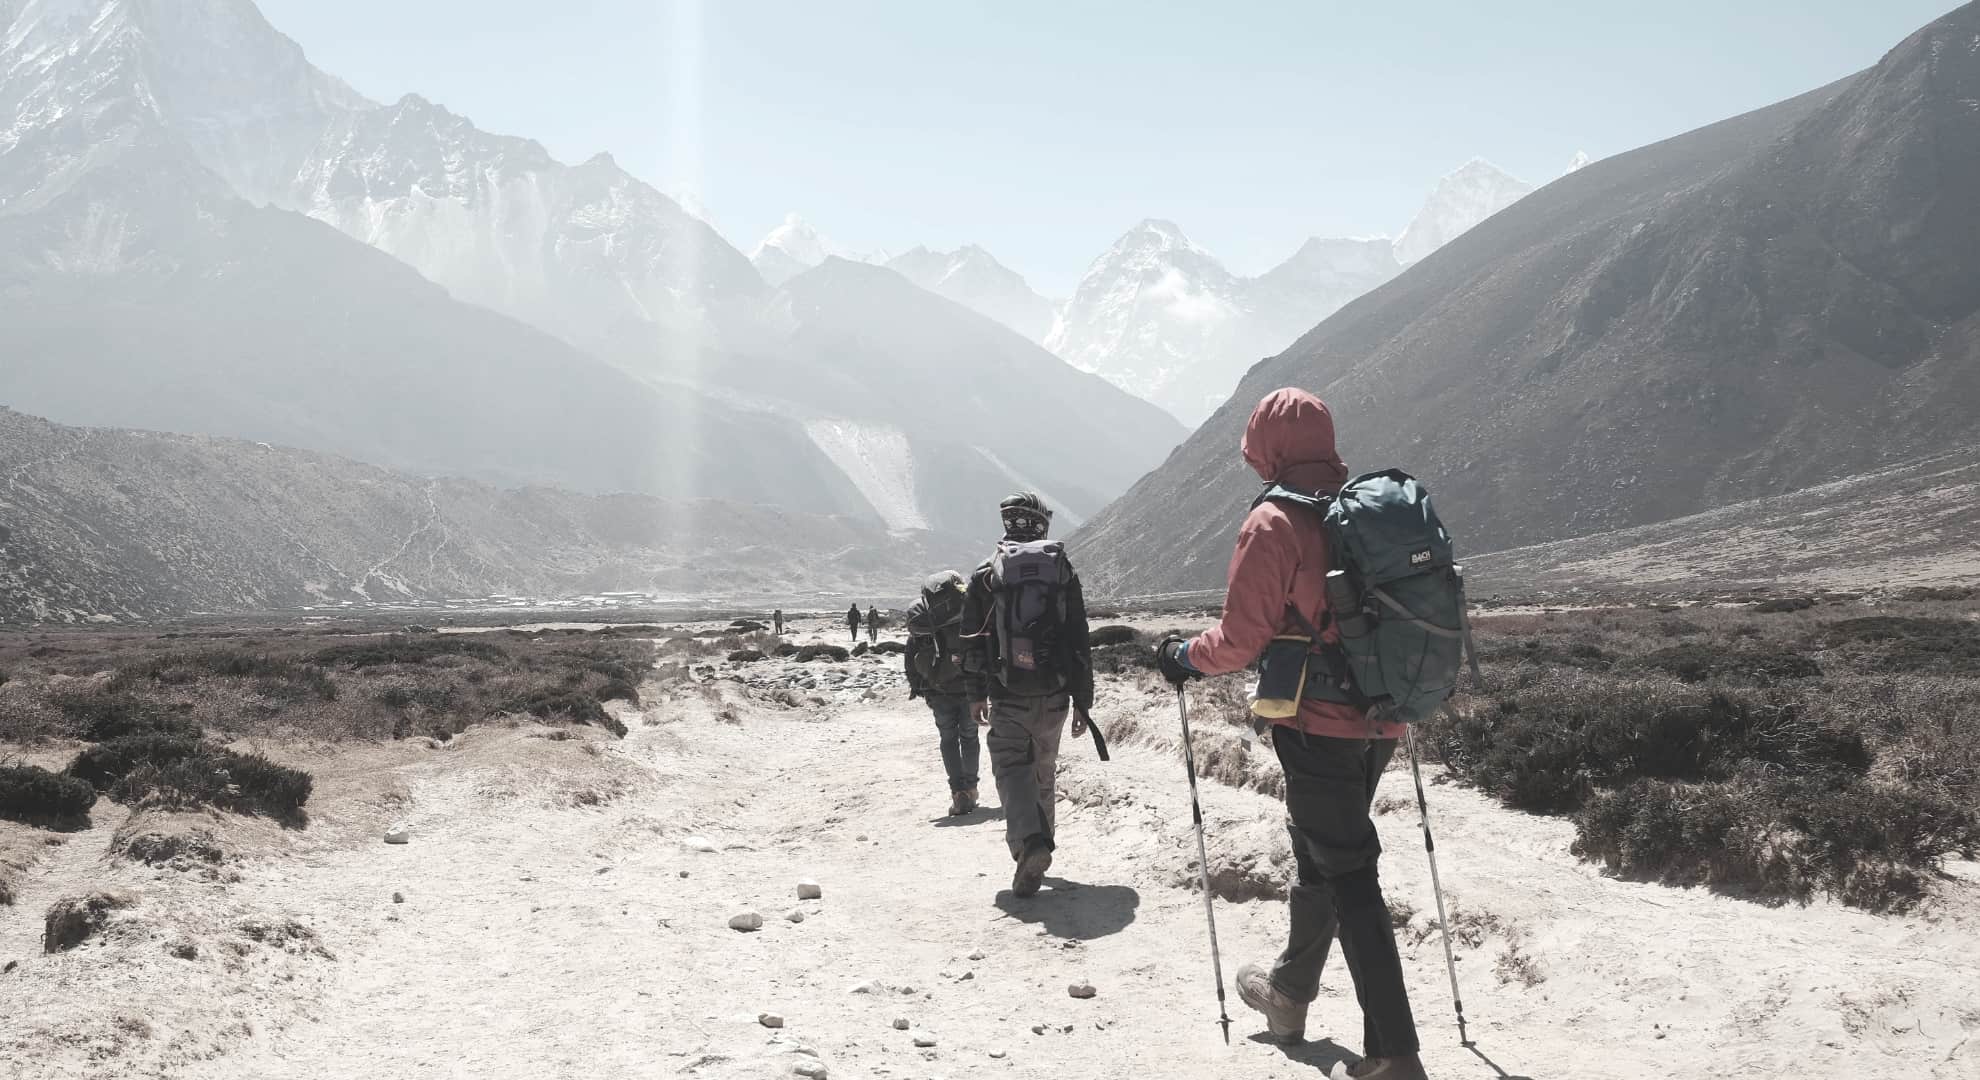
The number of things that can go wrong during a hike or backpacking trip runs into the hundreds. This doesn’t mean, however, that we should be nervous or reluctant to head out into the great outdoors—it just means we should be prepared to deal with each potential danger should they arise.
Benjamin Franklin once said that “those who fail to plan are planning to fail.” His words are never truer than when they are applied to hiking—staying safe in the great outdoors begins at home, usually days or even weeks before we set foot on the trail.
In this article, we’re going to take you through all of the most common hazards and hiking safety rules and both how to prepare for them in advance and how to deal with them when out on the trail. Before that, however, let’s first take a look at the most important hiking safety tips.

- Always leave a description of your proposed hike with someone, informing them of your route and planned return time, then let them know when you return
- Make a plan of action for what you will do in the event that someone becomes separated from your group
- Stay on trails unless you have excellent navigational skills.
- Identify and verify the closest available medical assistance and exit route for each section of the hike (and make sure you have maps that cover these diversions)
- Check weather conditions before leaving and while on your route
- Carry a first-aid kit
- Appoint a designated first aider
- Anticipate potential problems prior to heading on your hike and be prepared to deal with them
- Consider the ability level of everyone in your group when choosing a hike
- Always carry a map and compass and consider taking a GPS device as a backup

- Walk alone or stray far from your group—every hiker should have a buddy and buddies should always know where their buddy is
- Antagonize wildlife
- Approach wildlife—give any animal you come across in the wild a wide berth, even if it means leaving your route or backtracking
- Assume others have taken responsibility for safety measures. Before setting off, delegate responsibilities and be sure to check every member of the group knows their safety duties
- Wait until on the trail until trying out safety equipment—learn how to use your map, compass, GPS device, and wilderness first aid certification before setting off
- Be afraid to turn back if conditions take a turn for the worse
- Rely on cellphone apps or programs for navigation: like any electronic device, phones can fail, batteries can die, or you can lose signal
Hiking Safety: The Basics
Below, we’ve identified the most common hiking hazards and added a short description of how to deal with each of them.
Getting Lost
If getting lost means not being on the planned trail at the planned time, then being lost is part and parcel of the backpacking and hiking outdoor experience. In fact, getting lost together is part of the fun of backpacking and is a frequent occurrence, even for those with years of experience.
While it is often easy to lose the trail on a long trip, this usually not a problem for an experienced group if they stick together and there are no other issues like bad weather or running out of food.
Backpackers in this situation should simply study the map and do their best to get back to a trail. When doing so, choose “the path of least resistance”, studying the contouring on your map for more gradual slopes and hazards to be avoided.
When unable to ascertain your whereabouts or decide on the correct direction of travel back to a trail, it is important to stay put. It is okay to travel a very short distance in an attempt to get your bearings and locate significant landmarks, but if unable to do so you should return to the location where you first became aware you were lost in order to make it easier for search parties to find you.
If possible, move away from streams so you can hear any calls from searchers and slightly uphill so you can see the surrounding terrain, all whilst keeping the original location in which you became lost in sight.
Upon realizing you are lost, blow your whistle with three short bursts, or yell loudly three times, then wait and listen for a reply. Repeat this sequence while you wait for searchers to find you and try to remain calm.
As with every aspect of backpacking safety, avoiding getting lost starts at home. Before leaving on your trip obtain trail maps, guidebooks, trail distance, estimated time requirements, and any other information available. Keep the trail maps and any guidebooks in a waterproof ziplock bag in your backpack, always carry a spare in your group, and consider using a GPS device as a backup.
If you intend to carry/use your phone as an emergency device then we would highly recommend taking a camping charger with you as well, as batteries can (and often will) suddenly run out on you.
As a final tip, decide ahead of time on a plan of action for what to do in the event that someone gets separated from the group. How long are you going to wait for them to return? Where should they go after realizing they are separated? When and how do you contact the local rangers for help?
Discussing the above logistics with your group prior to setting off can save a lot of stress, hassle, and many other potential calamities further down the line.
Hiking at Night
If hiking at night, the hiker in front (the “Point”) should be able to maintain voice contact with the person at the end of the line (the “Drag”). Flashlights or headlamps should be readily available but often are not required if you let your eyes adjust to the stars and moonlight (check out our guide to the “best flashlight for camping” for more info.
If you have to hike on a road, stay on the left and face traffic with lit flashlights in your hand pointing slightly in front of you.
Worse Case Scenarios: The Seven Steps for Wilderness Survival
In a worst-case scenario, hikers should know the seven steps for wilderness survival:
- Positive Mental Attitude
- Check for Injuries/First Aid
- Make a Shelter
- Build a Fire (you should always bring the best windproof lighter)
- Signal for Help
- Find Water
- Don’t Worry about Food
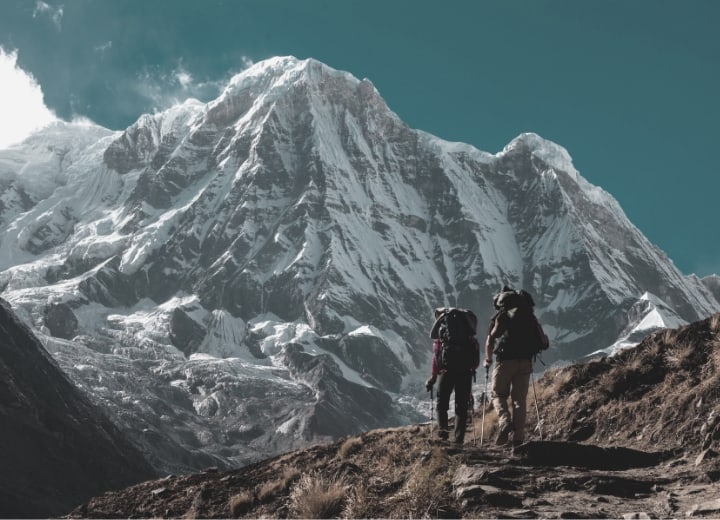
Weather Conditions
Weather conditions pose one of the greatest dangers when hiking in the backcountry. Although weather forecasts are mostly reliable, we should always be prepared for sudden changes in weather or inaccurate forecasts, particularly when heading into mountainous terrain.
One simple tip is to carry a small thermometer with you – sudden drops in temperature often indicate an incoming storm. To find out more, check out our guide to the best backpacking thermometer.
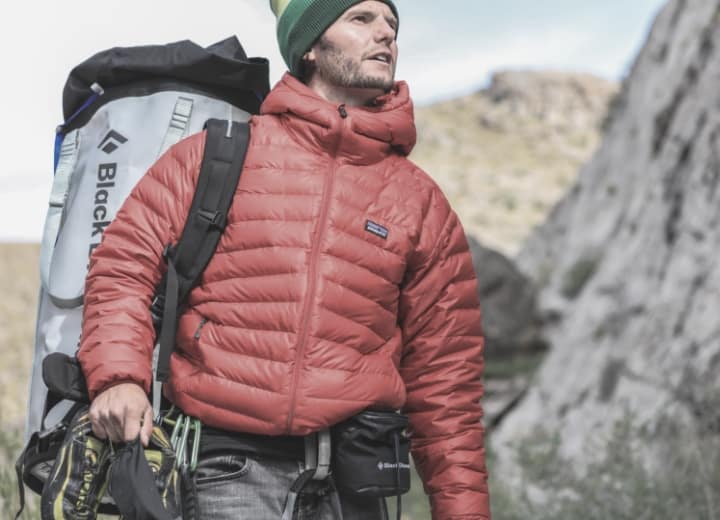
Suitable Clothing
Wherever you are headed on your hike, and particularly in mountainous terrain, make sure to have suitable clothing down on your backpacking checklist. This means insulation in the form of fleece, down, synthetic down, or other warm materials such as backpacking gloves and also suitable wet-weather clothing, namely a pair of waterproof pants, a waterproof jacket, and, if conditions underfoot are likely to be boggy or very wet, a pair of gaiters.
On any hiking trip, I highly recommend using the very simple and highly effective layering system.
An often overlooked aspect of hiking safety is the danger posed by hot weather. Instinctively, we are prone to think that the most obvious dangers are those presented by the cold, but sunstroke, heatstroke, and heat exhaustion can be just as serious.
When hiking or backpacking in extreme heat, be sure to carry suncream, dehydration salts, plenty of water (or check that there will be water sources along your route and bring a backpacking water filter), wear loose and light clothing that covers your skin, and cover your head with a good sunhat.
Most importantly, you should always avoid wearing cotton garments, which have a tendency to soak up sweat and subsequently increase the risk of hypothermia.
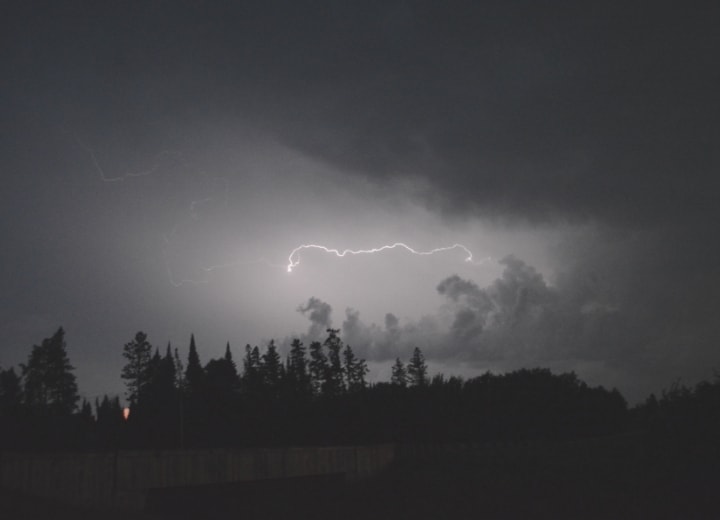
Lightning
Lightning is never more of a threat than when we are in high, exposed terrain such as that in which we do our hiking and backpacking.
As with many other items in our list, prevention begins at home.
Before you set off on your hike, pay close attention to weather forecasts for the area you’re heading into and always be sure to get a second (and third) opinion by comparing forecasts. Also be aware that thunderstorms in mountainous regions are most common in the afternoon, so plan to do your day’s hiking early and arrive at your shelter before any storms strike.
You can estimate the distance to a lightning strike by counting the seconds between the strike and the thunder. (One Mississippi, Two Mississippi, etc.) Divide the number of seconds by 5 and this will be the approximate distance to the strike (i.e. ten seconds between strike and thunder equals two miles).
Studies have shown that a second strike can occur 6 to 8 miles away from the first strike. As such, if the time between the strike and the thunder is less than 40 seconds, you could be in danger and need to take action.
There is no safe place in a thunderstorm, but you can maximize your chances of surviving one by following these lightning safety tips:
- Stay calm. Running to get away from a storm may expose you to secondary dangers such as falls, getting lost, or other injuries sustained by acting rashly
- Identify possible safe locations—emergency shelters, cabins, or mountain huts, and move toward them if the thunder and lightning strikes are still more than 30 seconds apart, being sure to stay away from more exposed terrain like ridges. If not:
- Dump your backpack and all other metallic or electrical objects
- Spread out 25′ to 30′ from each other, but maintain voice contact
- Separate and find cover under clumps of shrubs or trees of uniform height
- Crouch down with feet and knees together, chest on knees, and hands covering ears
- Keep your feet together and touching
- Stay off of ridges and passes—lower elevations are typically much less prone to strikes
- Stay out of wide open expanses like meadows or lakes
- Avoid using caves for shelter (lightning can strike even here!)
- Steer clear of isolated, tall trees
For more information, watch this interesting video about lightning myths from the National Outdoor Leadership School (NOLS).
Unexpected Snow
Even during the summer, snowfields are common along portions of many trails in mountainous regions. Prior to crossing a snowfield, evaluate the situation carefully. If possible, hike around the field, especially if it is steep or there is a hazard at the base of the field such as water, rocks, or a cliff.
As with some stream crossings, in some cases, it may simply be better to turn around, particularly if there is even the slightest risk of an avalanche or the snow is hard or iced-over and impossible to pass without crampons and an ice axe.
When hiking across a snowfield, each member in the group should be separated by at least 10′. Take short steps and dig the uphill edge of your boots into the snow with each step. Stay away from rock outcrops where soft spots and hidden voids occur, and listen for water beneath the snow.
When crossing a snowfield it is best to have an ice axe to self-arrest in case of a fall. If you do not have an ice axe and should fall, try to fall in the uphill direction and roll onto your stomach, but keep it off of the snow. Keep as much weight as possible on your toes and fingers, dig them into the snow to stop yourself from sliding.
A few additional tips for backpacking or hiking in the presence of snow include the following:
- Snow can collapse a tent, or break a branch over a tent—when pitching up for the night, be sure to choose a spot that’s not directly beneath any large or rotten branches and take turns to remove snow from tent walls during the night
- If you awake to significant snow cover it may be best to wait it out, depending on the expected weather conditions. You should only attempt to hike out if you are fearful of more snow, are certain of the trail location, and are comfortable navigating in snowy conditions, when visibility may be diminished and trail landmarks less apparent
- Never attempt to cross a frozen lake
- Consider carrying a pair of micro-spikes, crampons, and an ice axe if hiking in areas where you expect to find significant snow cover or icy trails
Flash Floods
Flash floods occur when high volumes of water flow rapidly into low-lying areas such as slot canyons, washes, rivers, dry lakes, and basins. This may happen as a result of heavy rain, thunderstorms, tropical storms, or meltwater from ice or snow.
Flash floods can occur at any time of year, and often in locations where there is no direct precipitation—water from heavy rainfall or a sudden thaw can travel into a wash, narrow canyon, or river basin from many miles away.
Avoiding being caught in a flash flood requires careful checking of weather forecasts for the area in which you are hiking and those surrounding it. If you route passes through a wash, basin, slot canyon or other low-lying areas prone to flooding, search for alternative routes that bypass these more exposed areas or else be very wary and pass through the area quickly.
Forest Fires
There are always fires burning somewhere in the mountains, so waking up to the smell of smoke is not necessarily a calamity. However, forest fires move quickly and unpredictably and can be extremely dangerous if you end up near one.
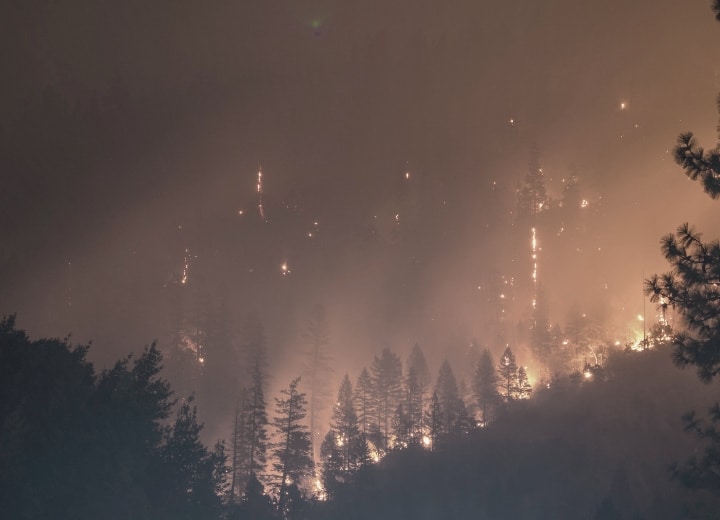
If you know of a fire burning in the area in which you plan to go hiking the advice is simple: don’t do it. Forest fires can spread with devastating alacrity and the smoke and debris from fires travel many miles, making breathing difficult and increasing the risk of secondary fires occurring in locations far from the original fire.
If you are already out on the trail when a fire starts, don’t take any risks and do whatever you can to get to safety as soon as possible.
If the fire is far away, change your route to direct your group towards safety and away from the fire. (One time, I was hiking in Yosemite and the trails near White Wolf were closed because of fires in the area. We had to hike almost 40 miles out of our way to avoid the fires. But it was worth the extra miles to avoid putting ourselves at risk and/or having firefighters waste their time and put themselves at risk to rescue our group.)
If the fire is very close, don’t try and outrun it. (You cannot usually outrun a forest fire, no matter how fast you are—not only do the fires spread very quickly, but the super-heated air and smoke will severely restrict your breathing and make even regular-paced walking very difficult.) Your best chance of survival in such circumstances is to find the nearest body and water (like a lake), jump into it, and await rescue.
Encounters with Wildlife
Hiking and wildlife encounters tend to go hand in hand. Sometimes this means spotting wildlife from a safe distance, other times it means getting a little too close for comfort. Below, I’ve listed some of the most common critters you might come across and what to do in the event of an encounter.
Poisonous Snakes
Few regular hikers in North America will go an entire hiking season without coming across a snake while out in the backcountry. Although bites are relatively rare and many snakes are harmless, there are four poisonous snakes in the United States and those of venturing into their territory should be aware of how to prevent bites and know what to what to do if unfortunate enough to be bitten.
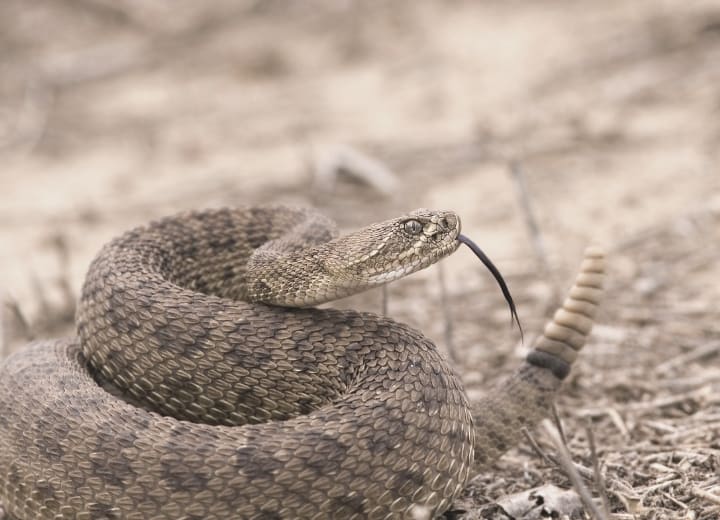
The four types of poisonous snakes in North America are rattlesnakes, coral snakes, copperheads, and water moccasins. Each of these snakes can strike at a distance equal to their body length, which can be in excess of eight feet. Often, each of these species ventures onto hiking trails to bathe in sunlight in the hours just after dawn and just before dusk. Although less active in winter, many of these snakes (particularly those in southern regions) do not enter full hibernation but instead brumate, which simply means they become less active—but not entirely inactive—during winter months.
To avoid snake bites, awareness is crucial. Watch where you put your hands if you are rock hopping. Occasionally look down at the trail, and keep your shoes on at camp. (In my hiking group there was an infamous campsite on a 50-miler where we found six rattlesnakes after setting up our ultralight tents. Needless to say that the tent flaps were completely zipped up all night!).
When out on the trail, use your walking poles to beat the ground—snakes’ sense of hearing is not as acute as that of humans but they can pick up the vibrations made by stomping feet or poles and, in most cases, will slither off before you reach them.
If you come across a snake, back off immediately and warn other members of your group. In most cases, the snake will move on. If not, divert your route around the snake, keeping an eye out for any further snakes if this should lead you through brush or scrub.
As a final word of warning, never—never—try to pick up a snake. This should, of course, go without saying, but the statistics on snake bites and their causes sadly prove otherwise…!
If a member of your group should be bitten by a snake, take the following steps:
First Aid for Poisonous Snake Bites
- Make sure the snake is gone before attending to the bite
- Remove any jewelry around the affected area
- Treat for shock – have the victim lie down if possible
- Lower the bitten area to slow circulation
- Get medical help as soon as possible
*While hikers were once instructed to cut open the wound and suck out the snake venom, this is no longer the case. Inexpert and unqualified hikers slicing up snakebite victims with razor blades, somewhat predictably, turned out to be a bad idea and caused more problems than it solved. Other commonly cited treatments, such as sucking the bite, have also been proven to be misguided and not an effective means of extracting venom. In short: leave it to the professionals.
Bears
The threat that bears pose to hikers is often overstated, but this doesn’t mean that bear safety is something we can take lightly.

When hiking in bear country, the following measures are the most important with regard to safety:
- Carry bear spray
- Make plenty of noise while you are hiking. If a bear hears you approaching, the chances are it will take off long before a face-to-face encounter can happen
- Follow all of the bear-safety precautions advised by authorities in the area in which you are hiking: store food in canisters, steer clear of dens, and camp only in designated areas
- Do not take food into your tent at night
If you spot a bear:
- Give the bear a very wide berth, even if this means backtracking a long way or taking a diversion that adds a lot of mileage to your route
- Make sure everyone in your groups knows of the bear’s presence
- Stay calm and don’t run
- Huddle together in a group and make noise
- Back away slowly
- Alert other hikers and/or local authorities about the presence of the bear
Other Large Mammals
In most cases, avoidance is the key to preventing an unhappy encounter with wildlife. Sometimes, however, this is impossible because we can surprise animals while traveling on our route or animals can surprise us.
In any situation—with elk, mountain lions, moose, wild pigs—the first course of action should be to back off and put distance between yourself and the animal. Secondly, alert other members of your group to the presence of the animal. Finally, make a plan for escape that will allow you to bypass the animal without disturbing it or increasing the chances of a face-to-face encounter.
Insect Bites
Bites from insects mosquitoes, flies, etc. can not only be annoying but also cause a great deal of pain and discomfort. Again be aware of your surroundings and carry both insect deterrents and ointments or creams to treat stings and bites if they happen.
Other topics on health and hygiene:
- Not a pleasant topic of conversation, but as many people don’t follow LNT, make sure you are not one of them & learn the correct human waste disposal methods.
- We always highly recommend one person in a group to have taken some training should field medicine be necessary.
If any member of your group has a history of severe allergic reactions to bites, make sure they are carrying the necessary medical supplies before setting off and seek medical attention if they happen to be bitten. Refer to our pages on Keeping the Bugs Away and how to prevent tick bites for more details.
Poisonous plants
Certain poisonous plants are common throughout much of the US and Canada. The most notable offenders include poison oak, poison ivy, and sumac. Before heading off on any hiking or backpacking trip, learn how to identify these three plants and do your research to find out about any other local poisonous plants in the area in which you’ll be hiking so you can avoid them while on the trail.
If you touch happen to touch any poisonous plant, wash the affected area immediately with water and mild soap, then pat the skin dry with a clean towel.
Other tips
- Research local hunting areas/seasons
- Pay attention to any safety alerts for the area in which you will be hiking (you can find most of this information on regional government websites or the site for the trail/mountain itself)
- Watch out for your mental state, and pay attention to any fears or anxieties you have.
- See more hiking safety tips from hikebiketravel.